Adding Clients Manually
Adding Clients Manually
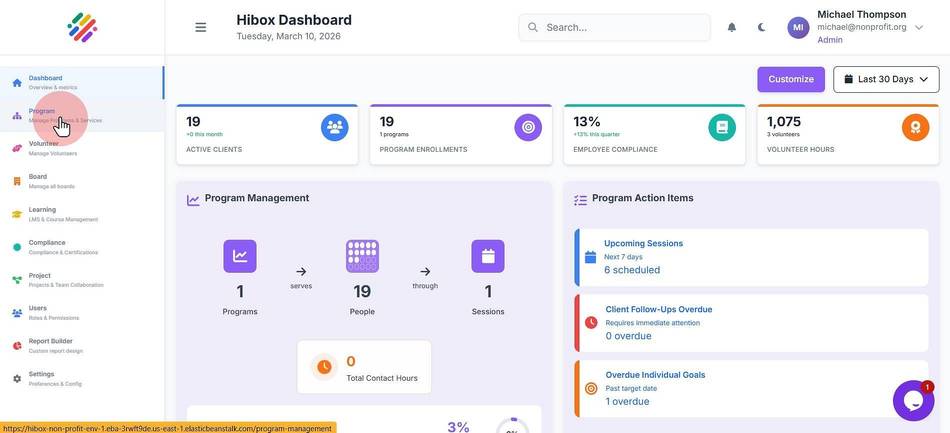
1. Click "Program" on the left-side menu
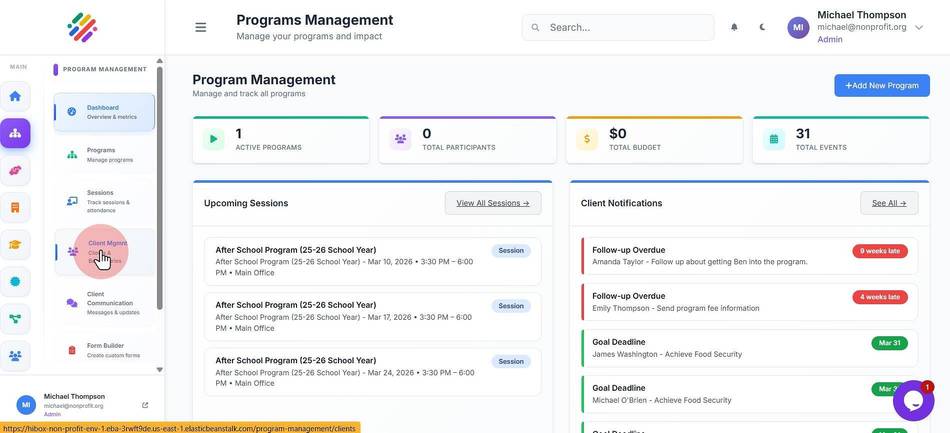
2. Click "Client Mgmnt" on the sub-menu
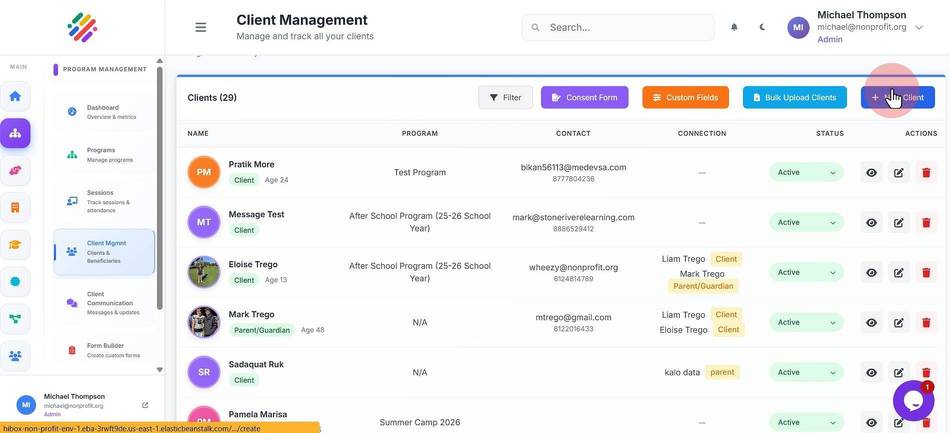
3. Click "+ New Client"
4. Click "Enter first name"
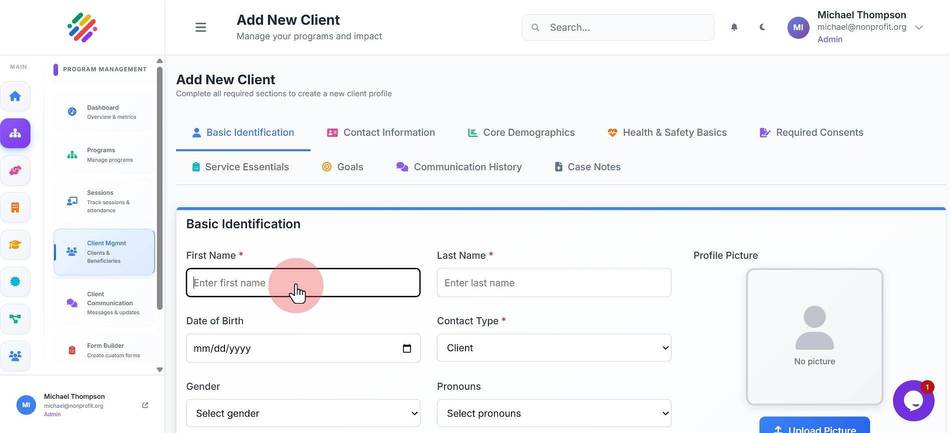
5. Click "Enter last name"
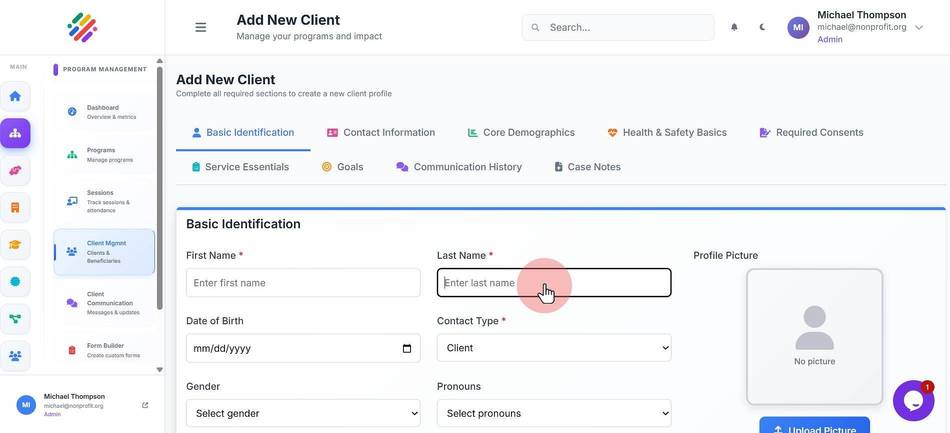
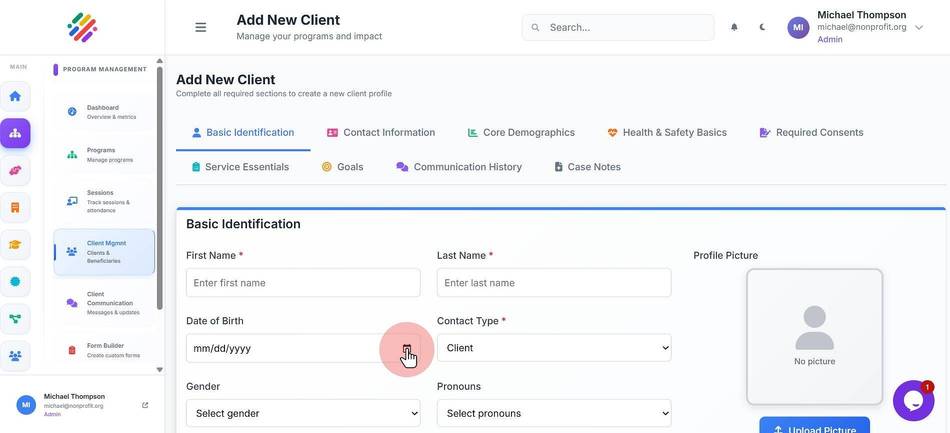
6. Set the "Date of Birth"
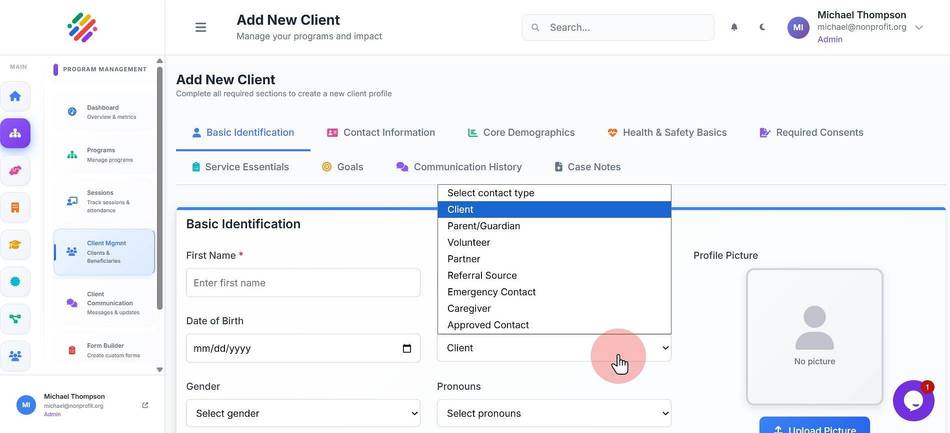
7. Set the "Contact Type"
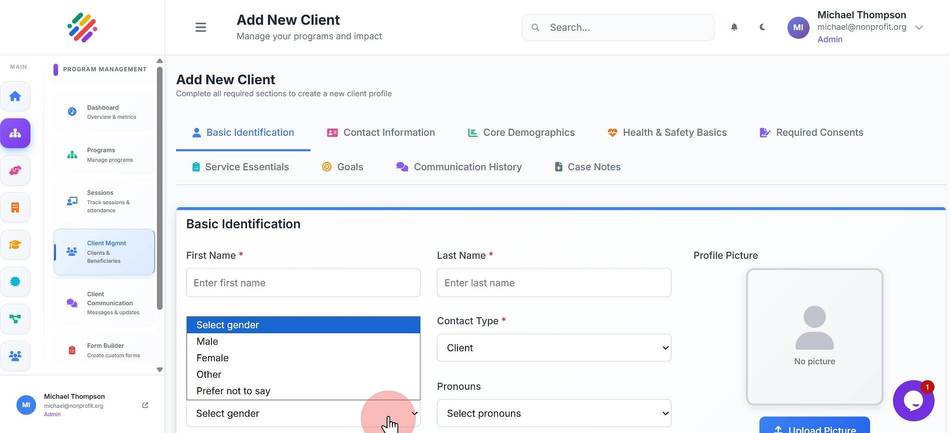
8. Select a "Gender"
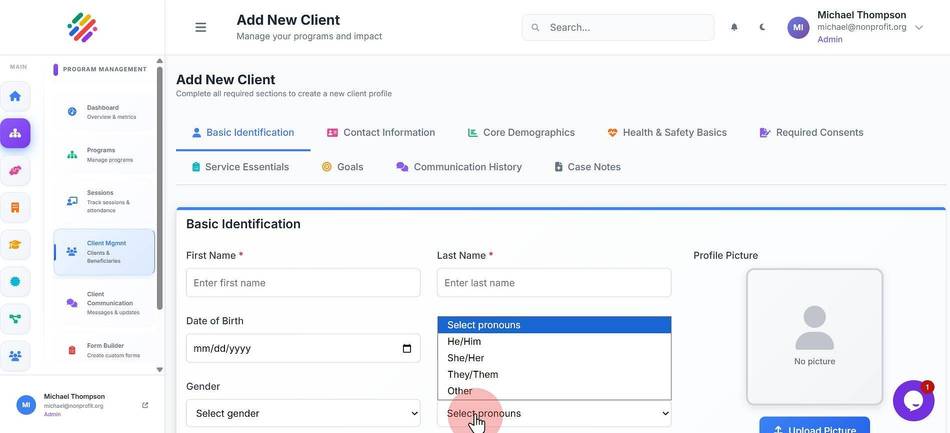
9. Select "pronouns"
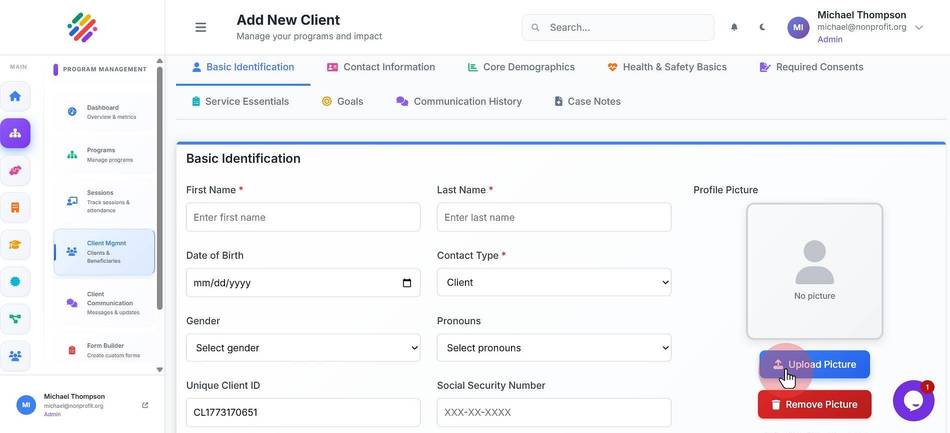
10. Click "Upload Picture" to upload a profile image
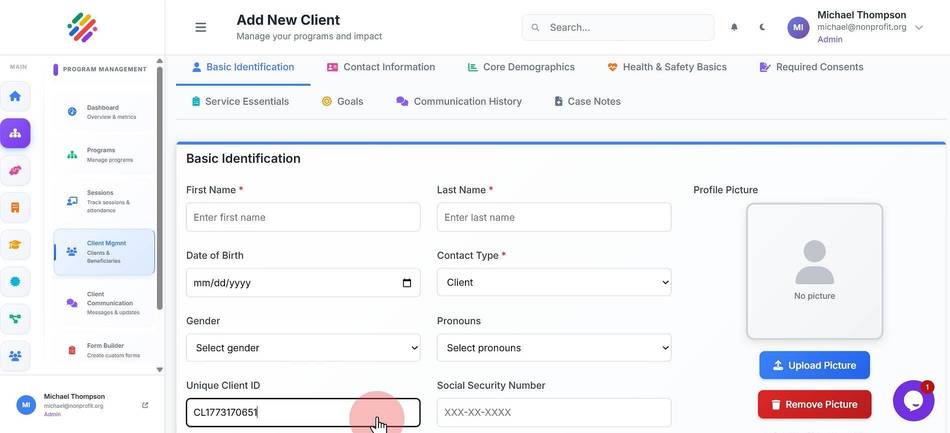
11. Enter the "Unique Client ID"
12. Enter the "Social Security-Number"
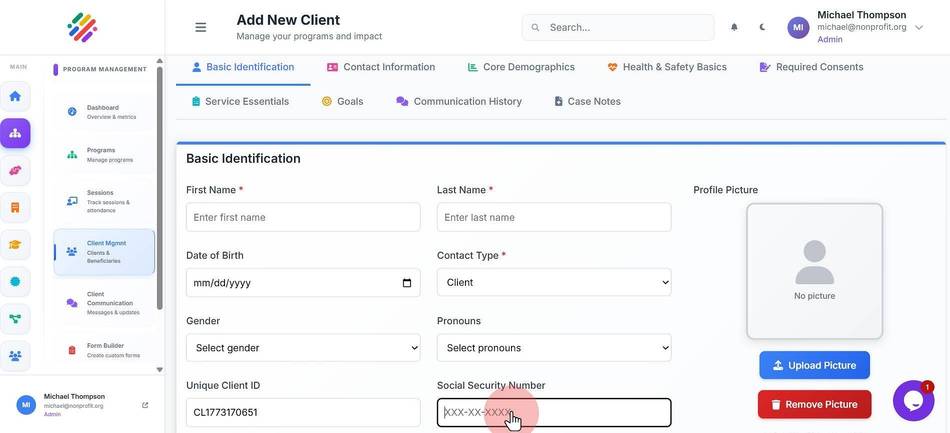
13. Click "Choose Files" to upload files tyou wish to attach to this client
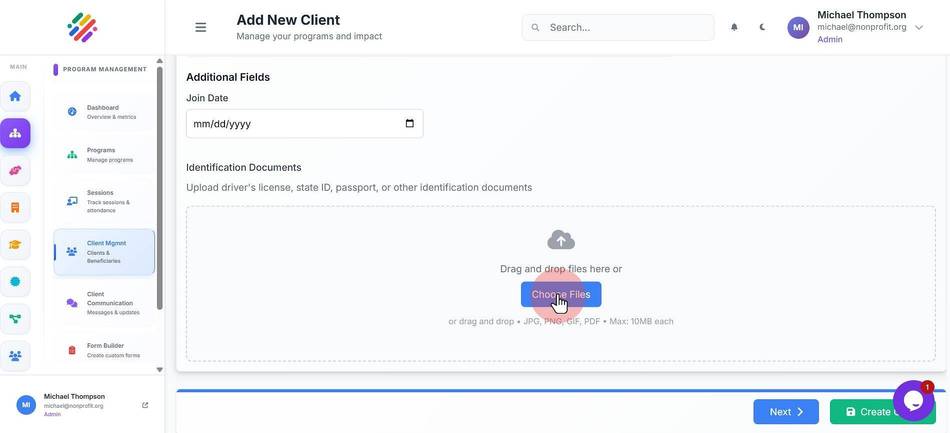
14. Click "Next" to continue
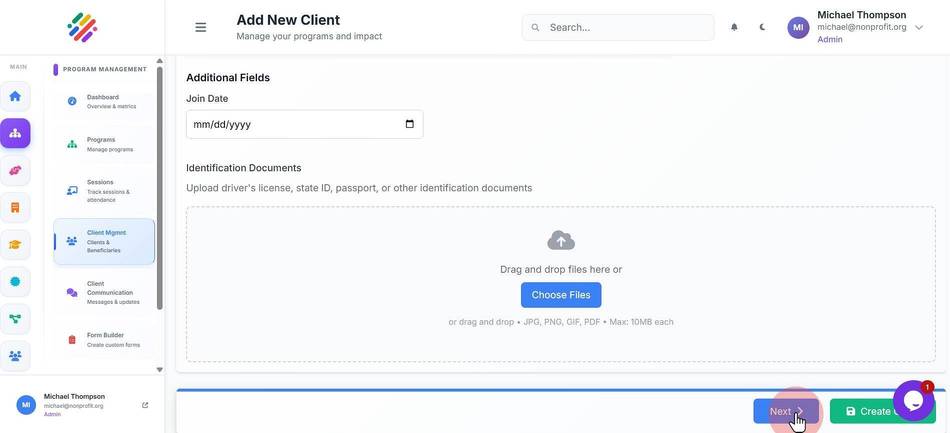
15. Enter the "Phone Number"
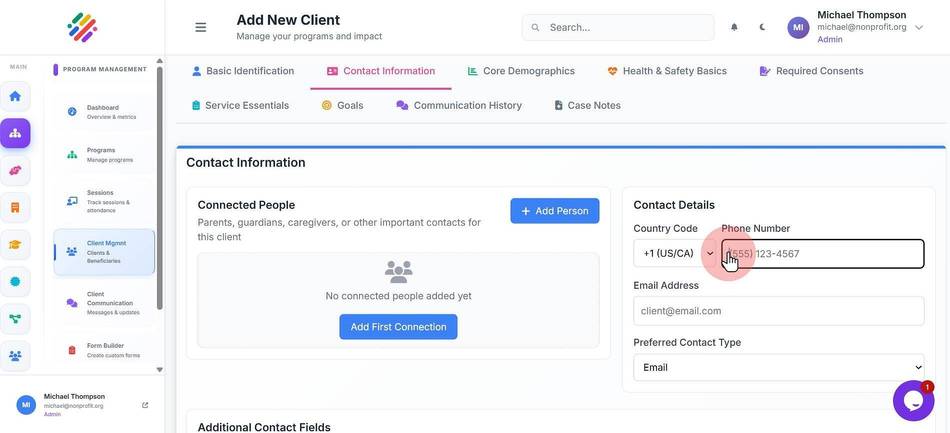
16. Enter the "email"
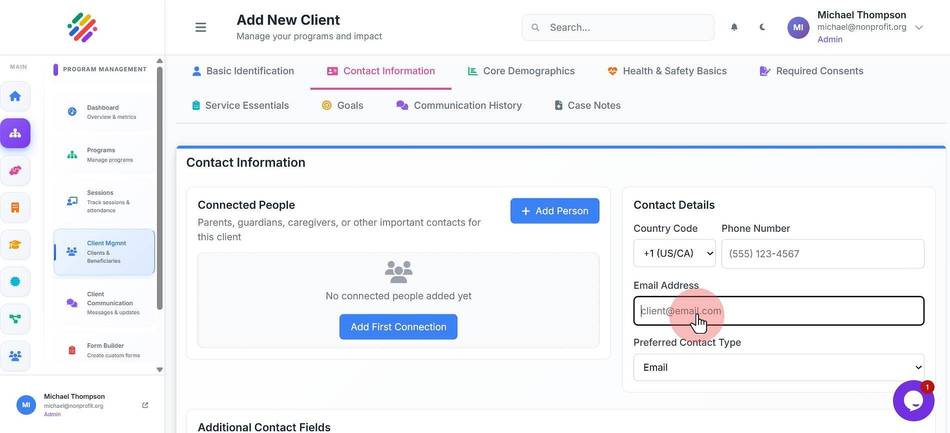
17. Set the "Preferred Contact Type"
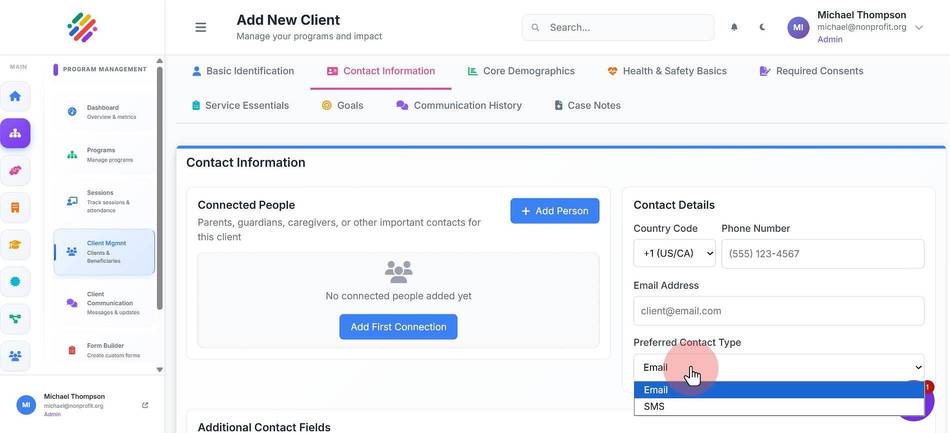
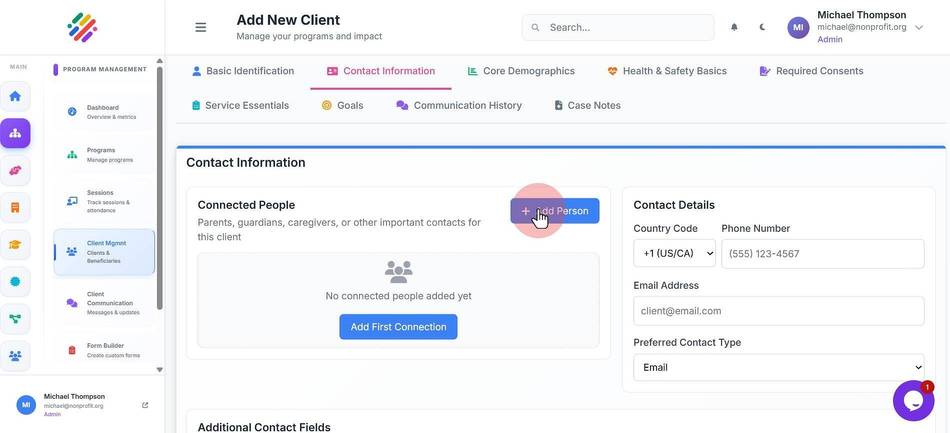
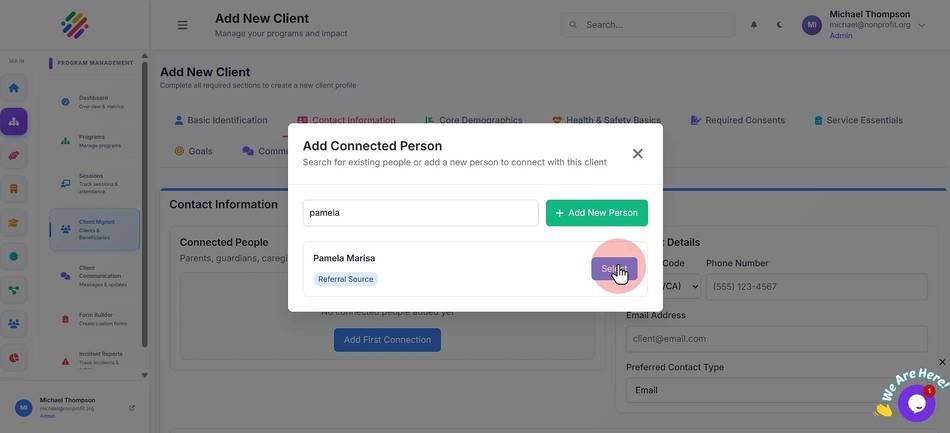
18. Click "+ Add Person" to add a contact attached to this client
19. Search by name or email
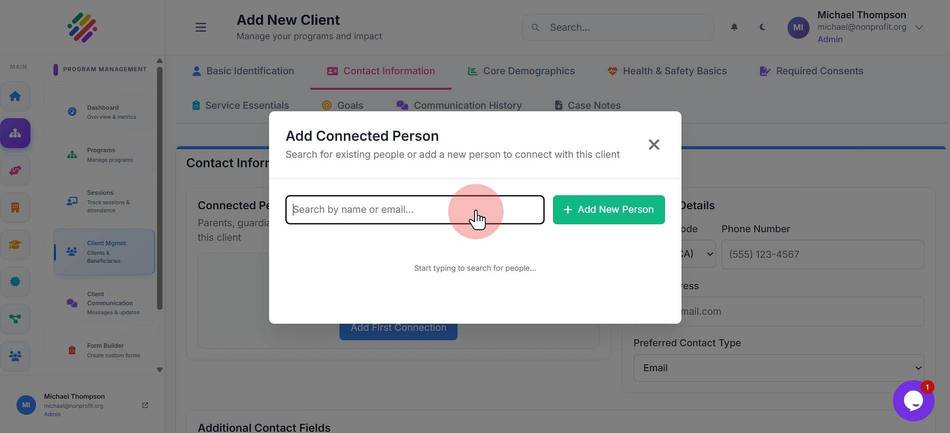
20. One you find the user, click "Select"
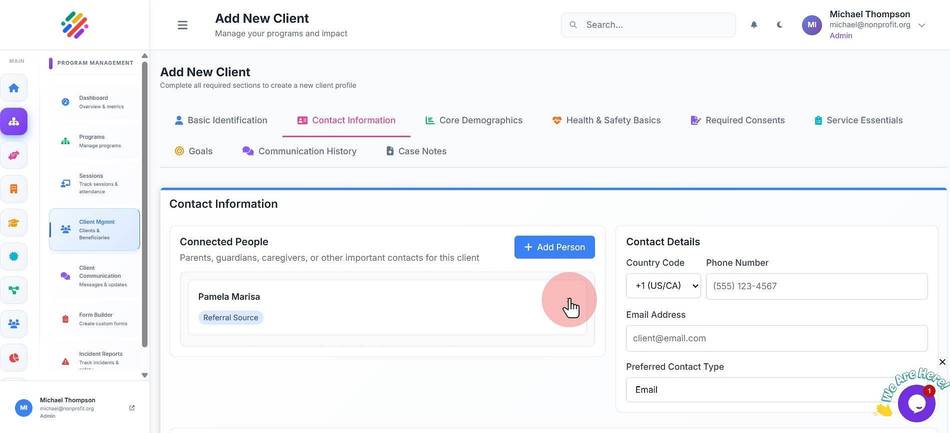
21. Click on the "X" icon to delete the connected person
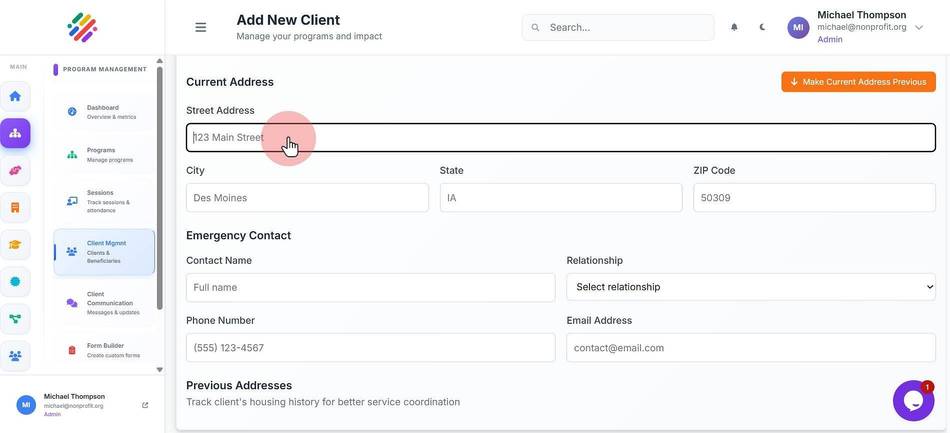
22. Type in the user's address
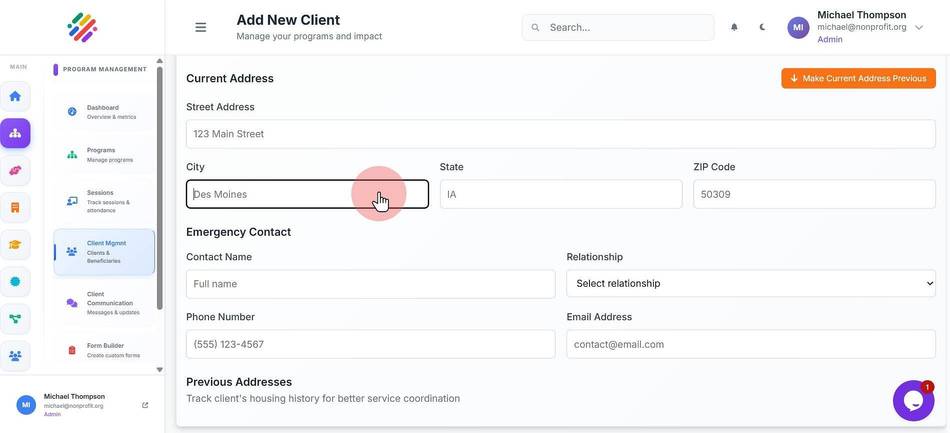
23. Enter the "City"
24. Enter the "State"
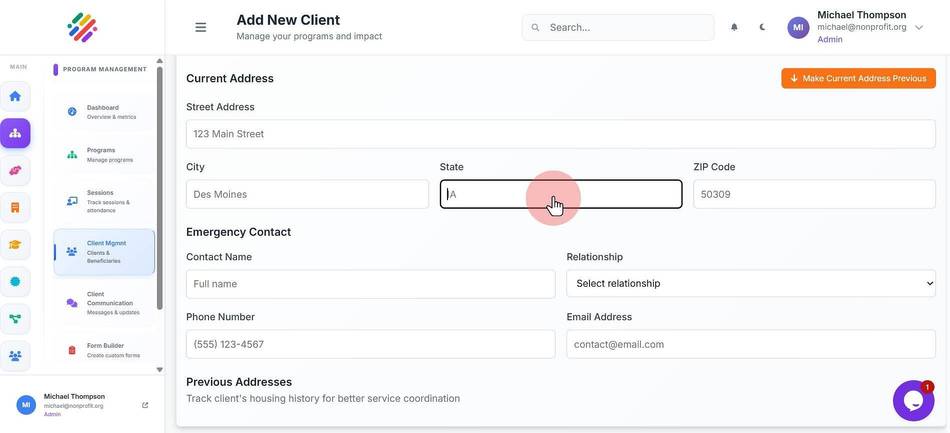
25. Enter the "ZIP code"
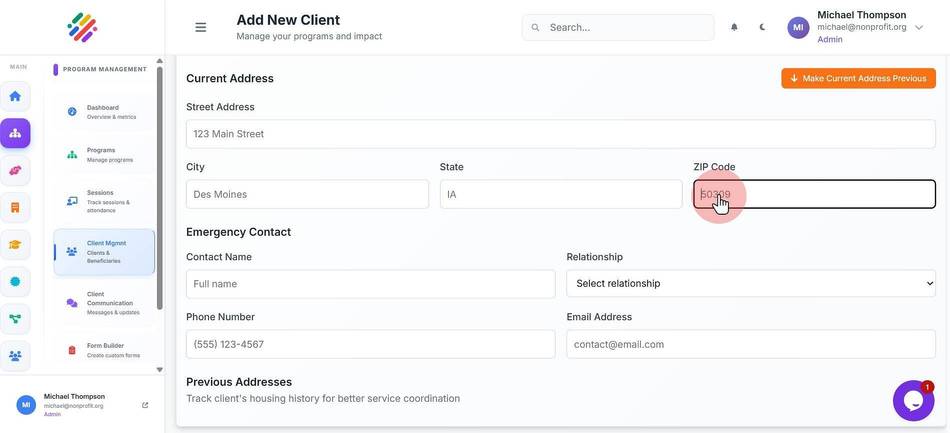
26. Fill out the Emergency Contact "Full name"
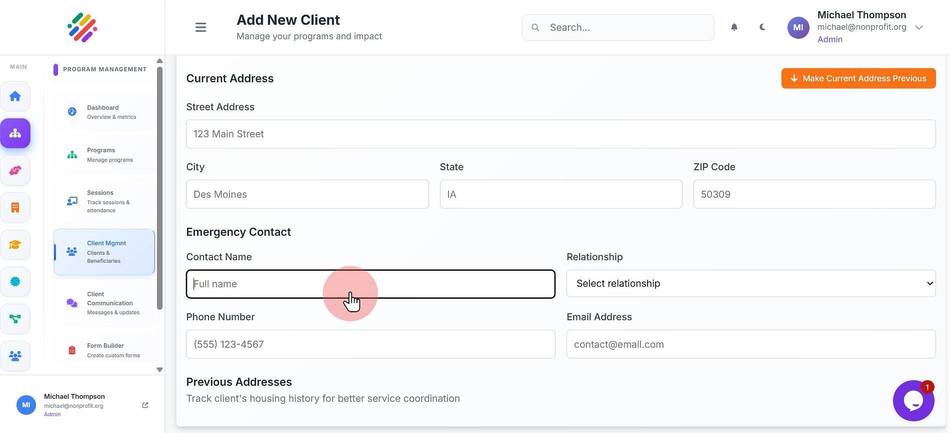
27. Select a "Relationship"
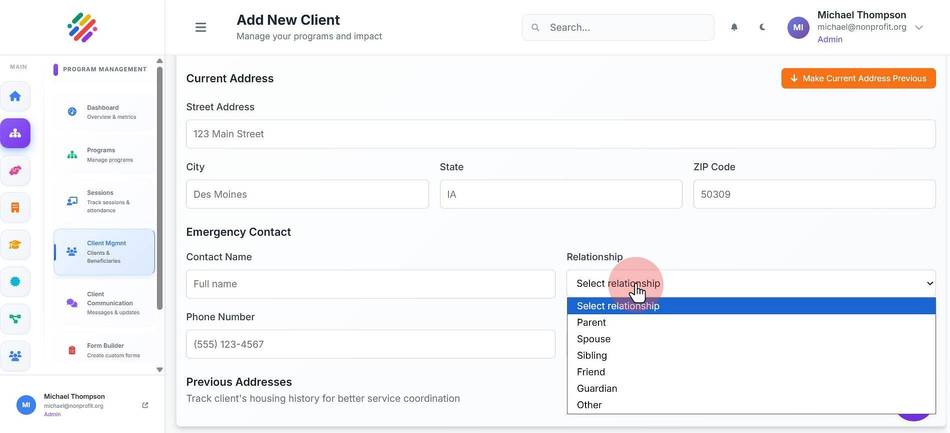
28. Type in a "Phone Number"
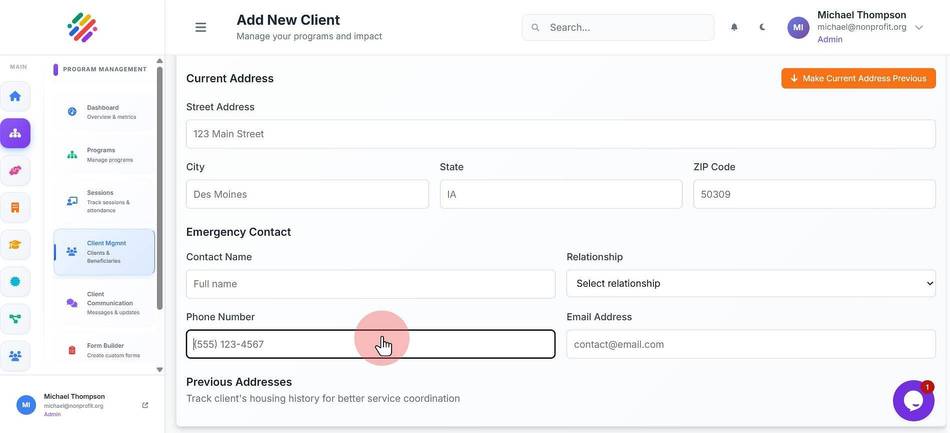
29. Enter the "E-mail address"
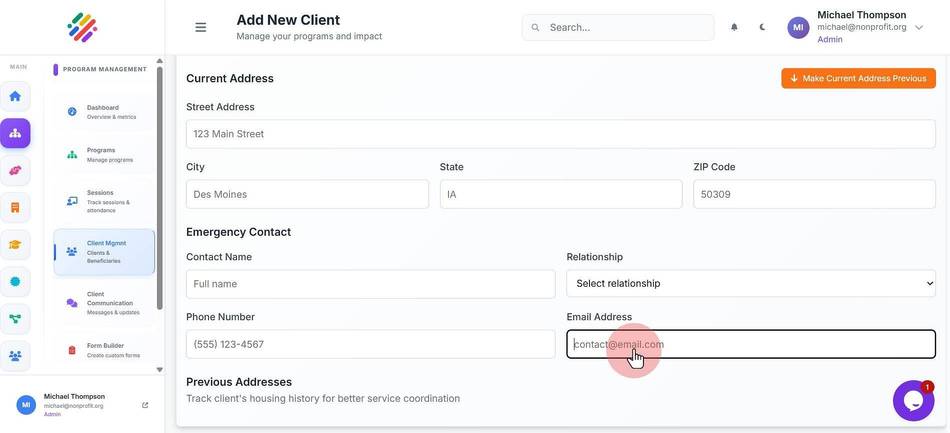
30. Click "Next" to move into the next section
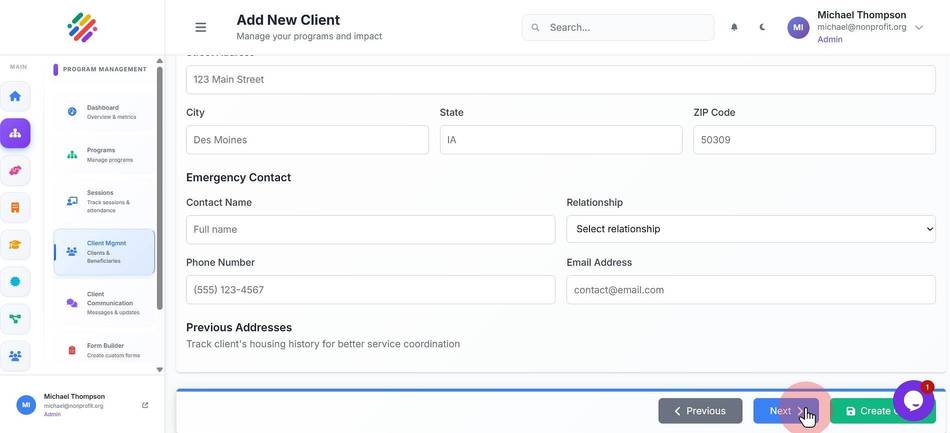
31. Select language
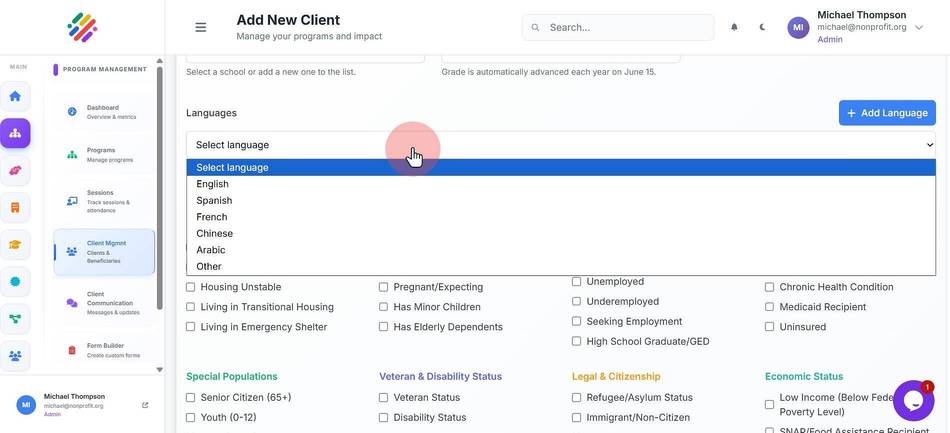
32. Check any "Additional Information" you wish to add
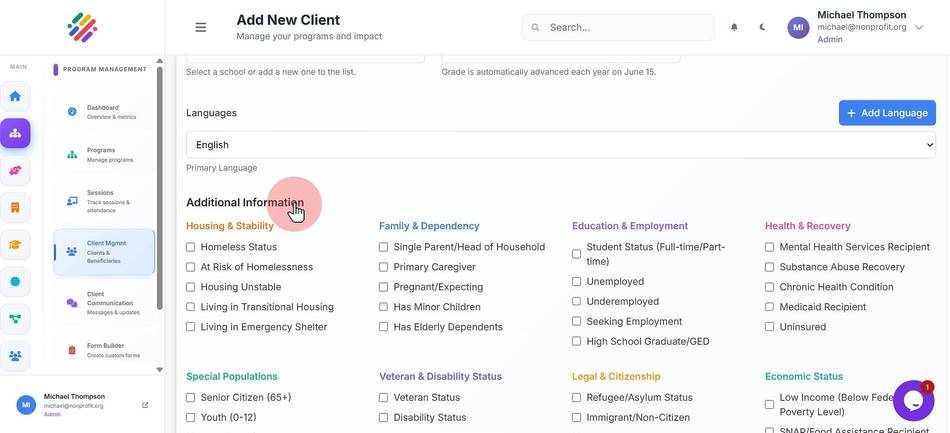
33. Select a "Marital Status"
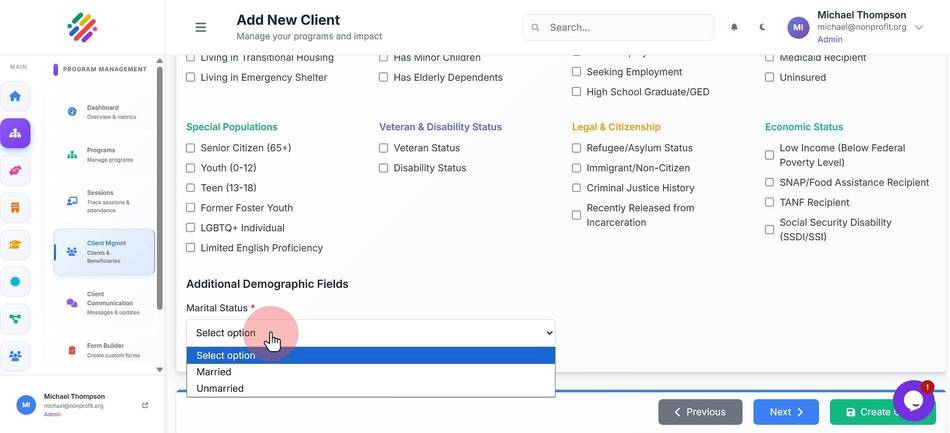
34. Click "Next" to move into the next section
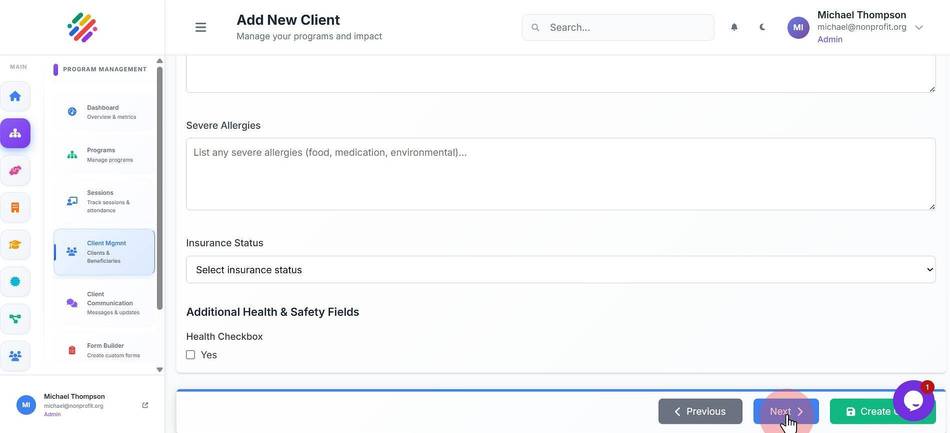
35. Describe any "Critical Medical Conditions"
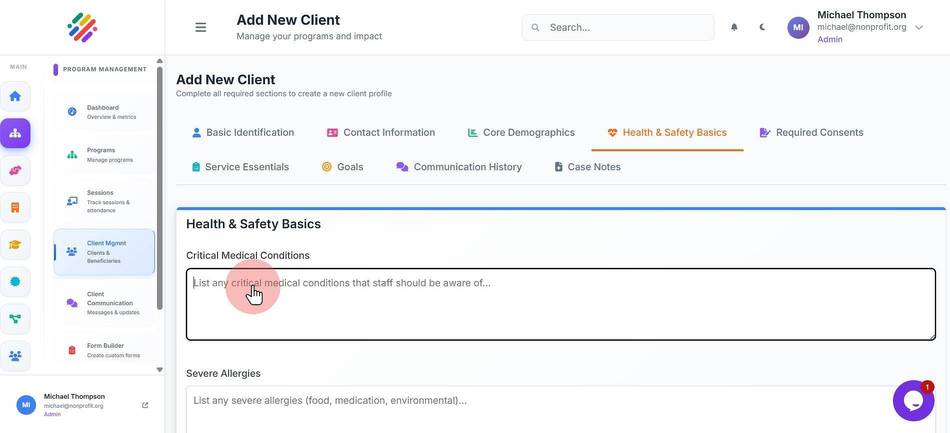
36. Describe any "Severe Allergies"
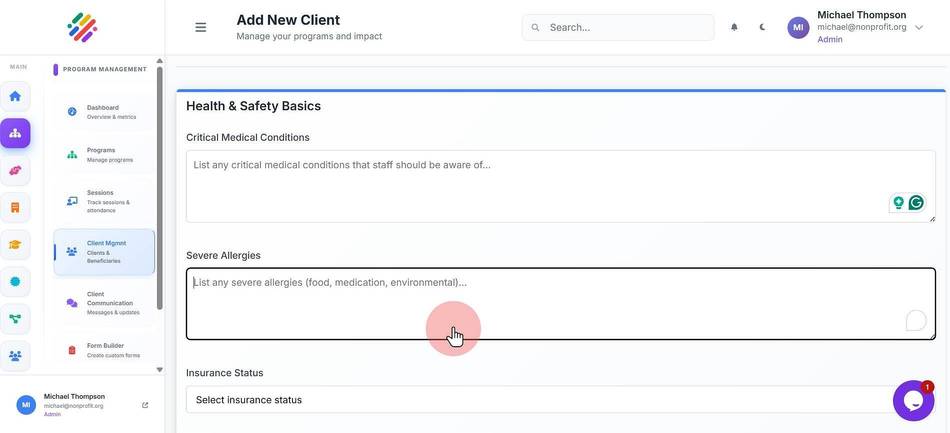
37. Choose the "Insurance Status"
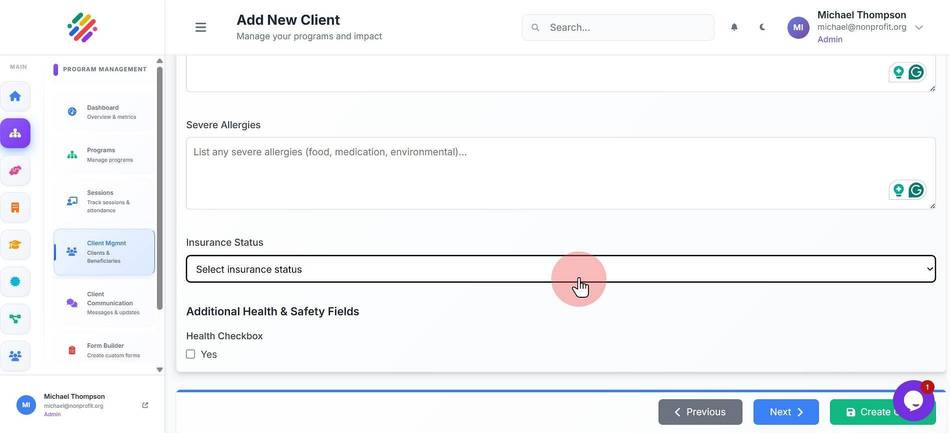
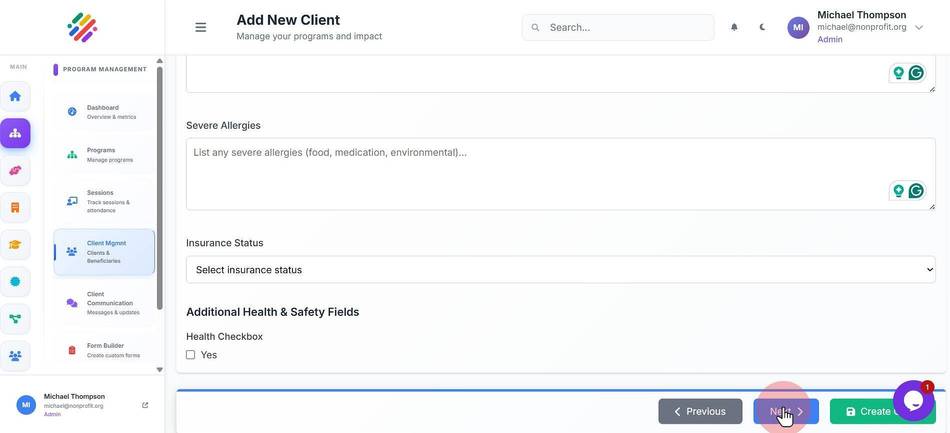
38. Click "Next" to move into the next section
39. Click "Choose from Templates" if you already have a cncent form ready
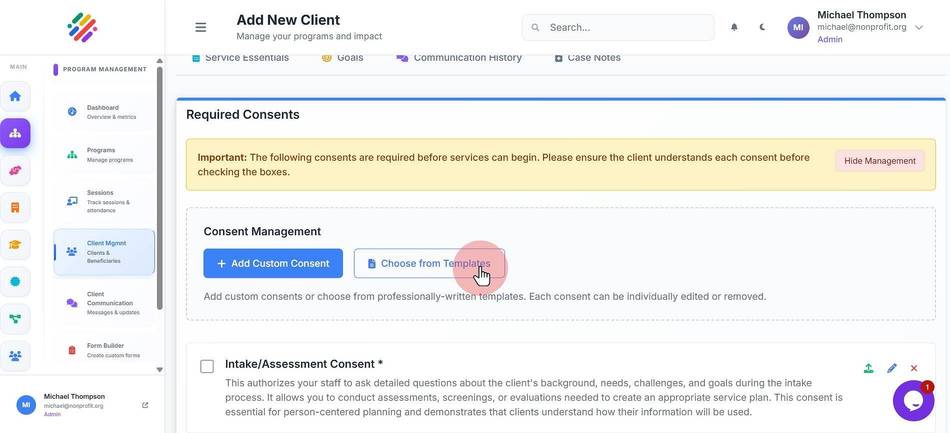
40. If you have not created a Concent Form, click "+ Add Custom Consent"
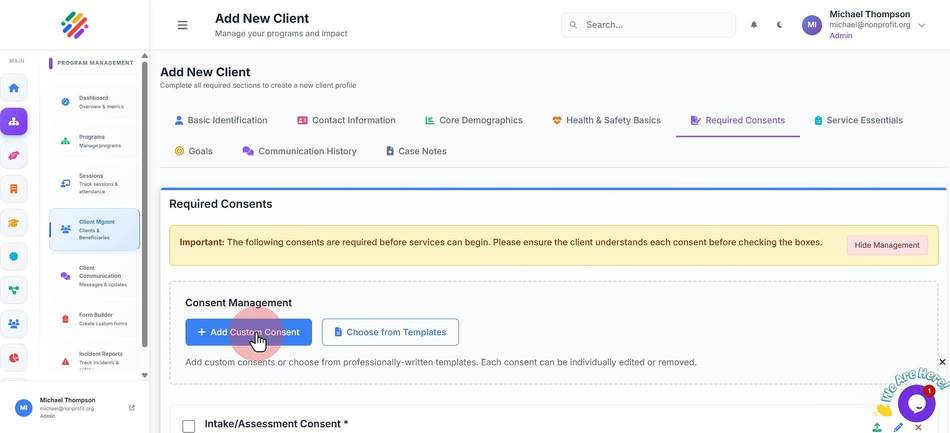
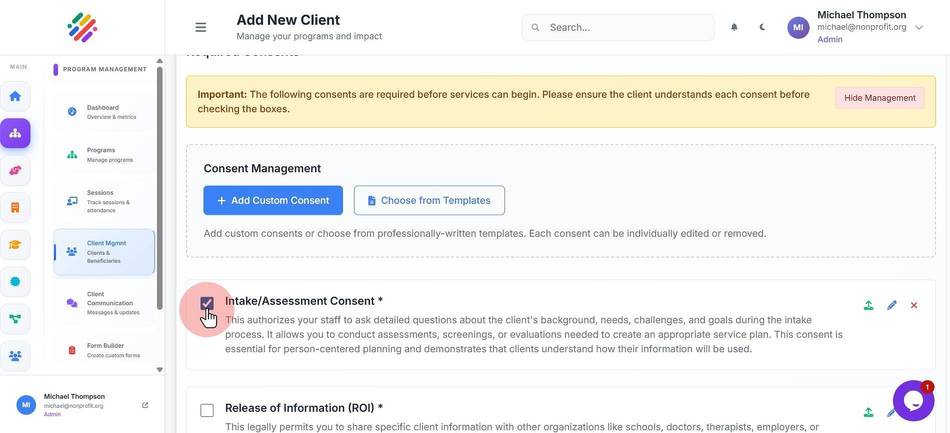
41. Check any of the boxes below "checkbox"
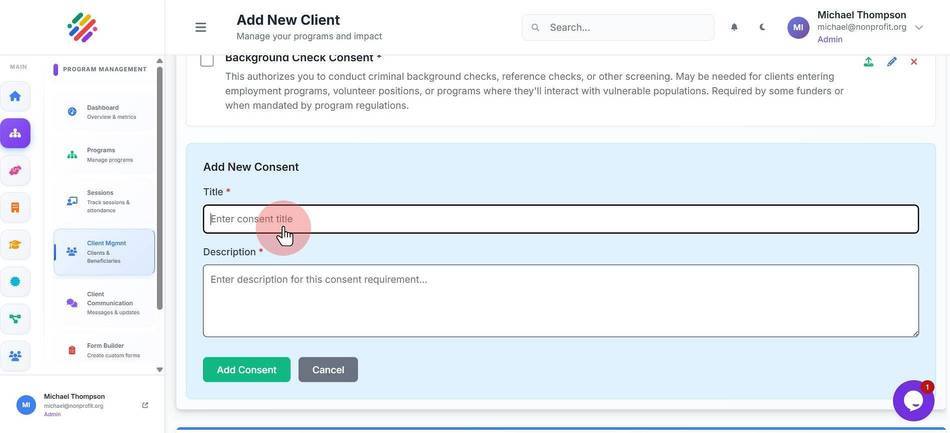
42. Click "Enter consent title"
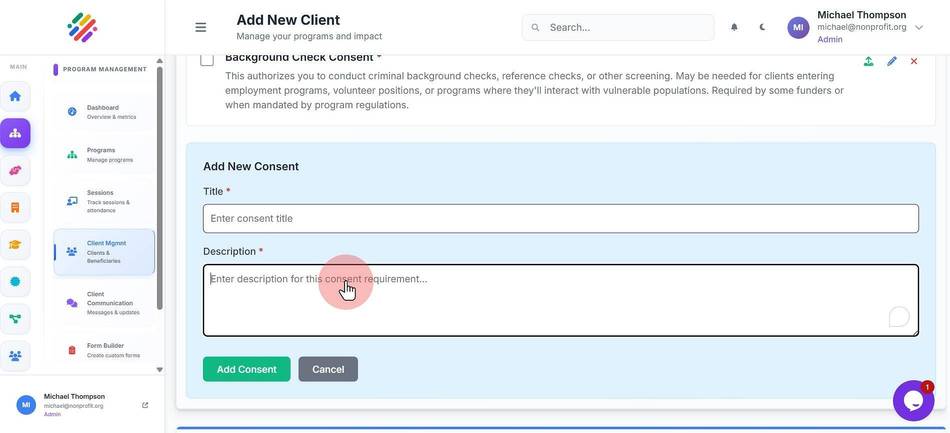
43. Click "Enter description for this consent requirement..."
44. Click "Next"
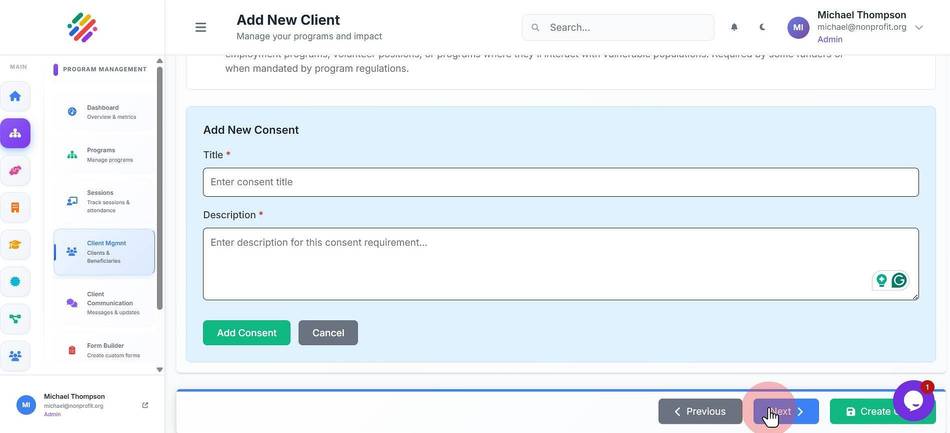
45. Click "Select referral source"
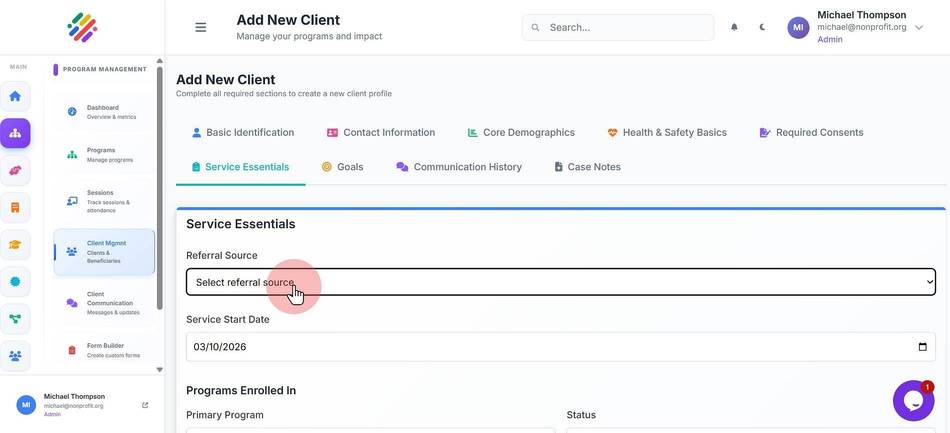
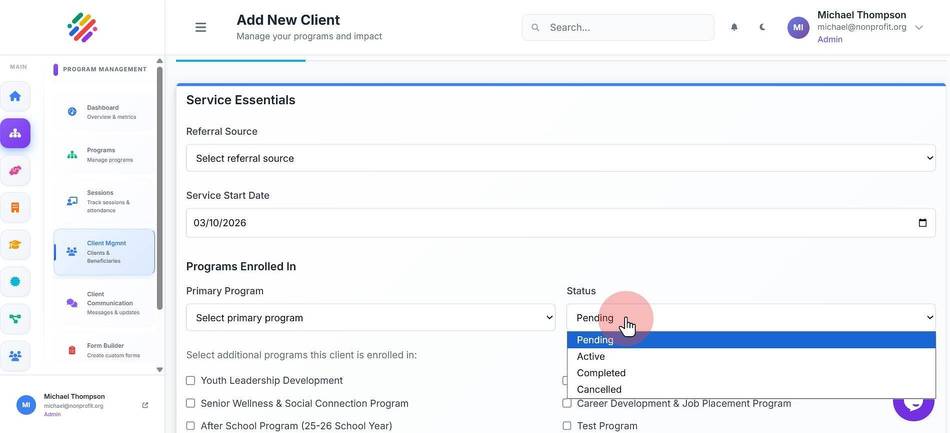
46. Enter the "Service Start Date"
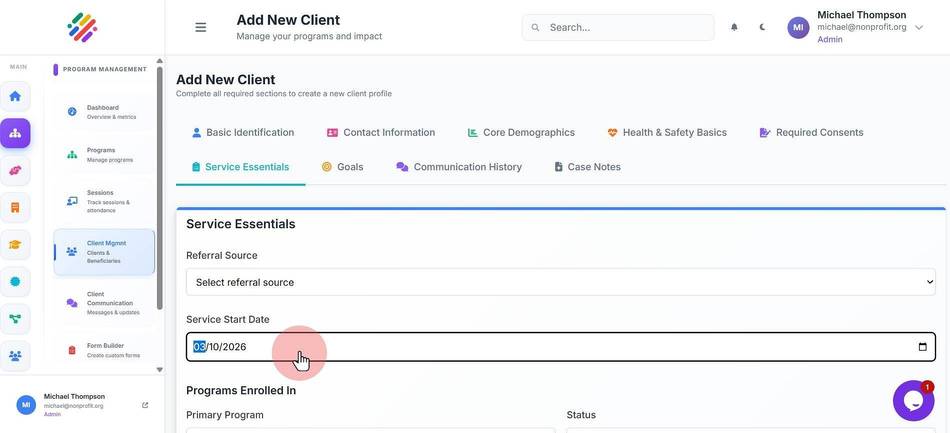
47. Select primary program
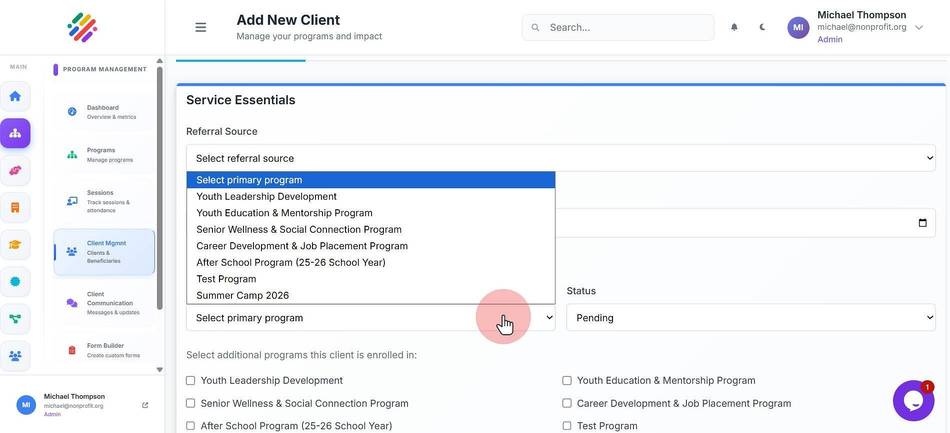
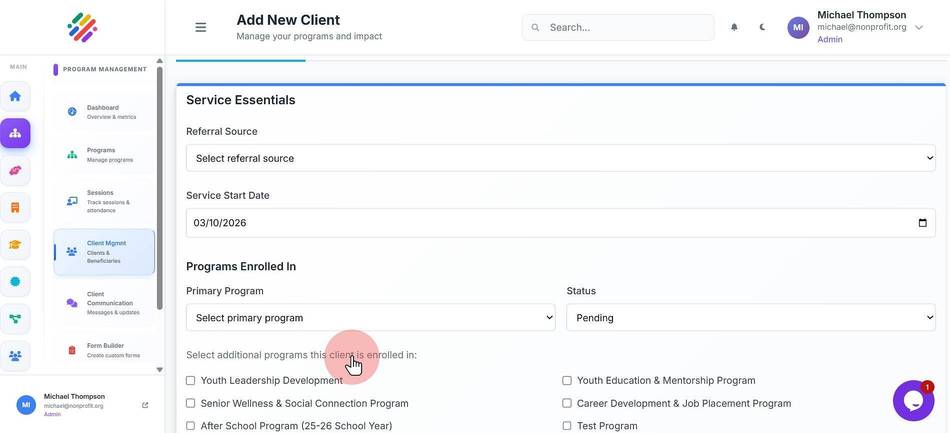
48. Set the "Status"
49. Select any additional programs this client is enrolled in by clicking on the checkboxes
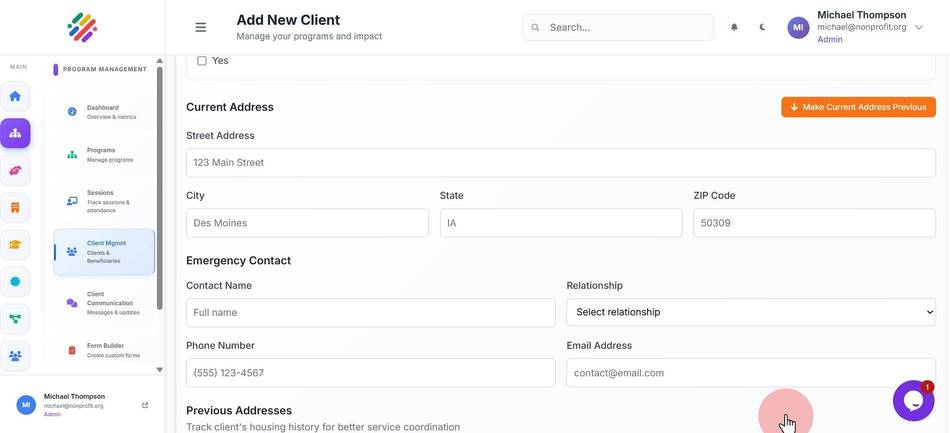
50. Scroll down to find the "Previous Addresses"
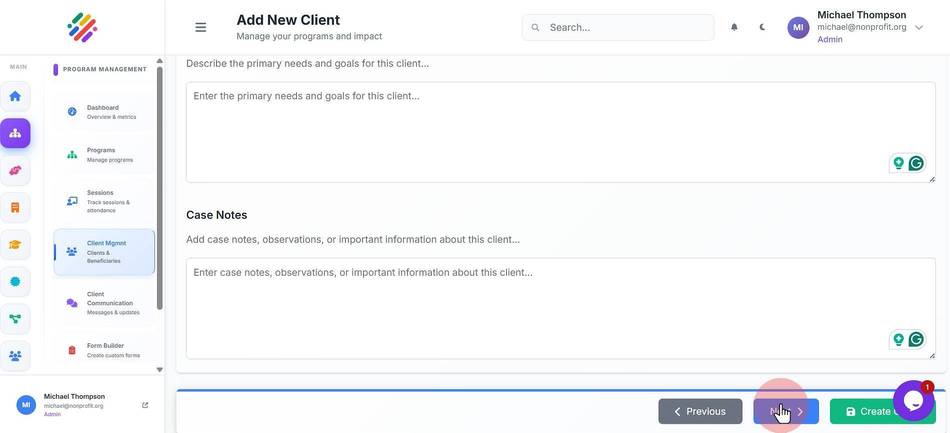
51. Scroll down to enter the primary needs and goals for this client..."
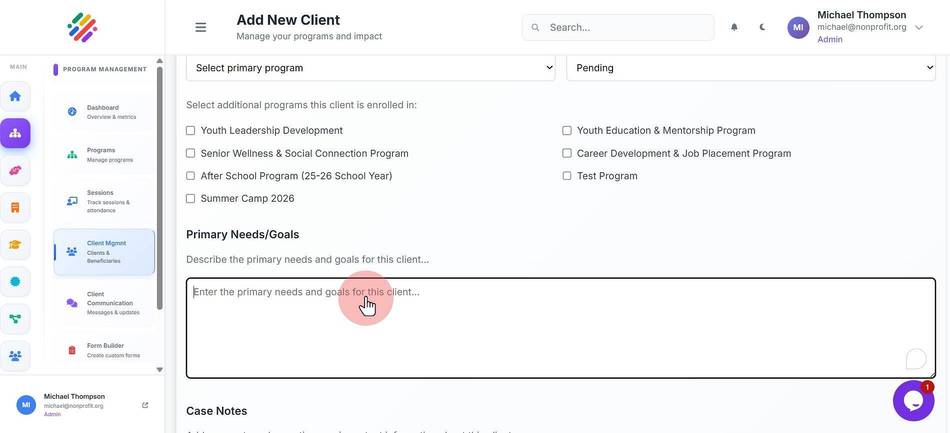
52. Scroll down to find the Case Notes, then click "Next" to continue
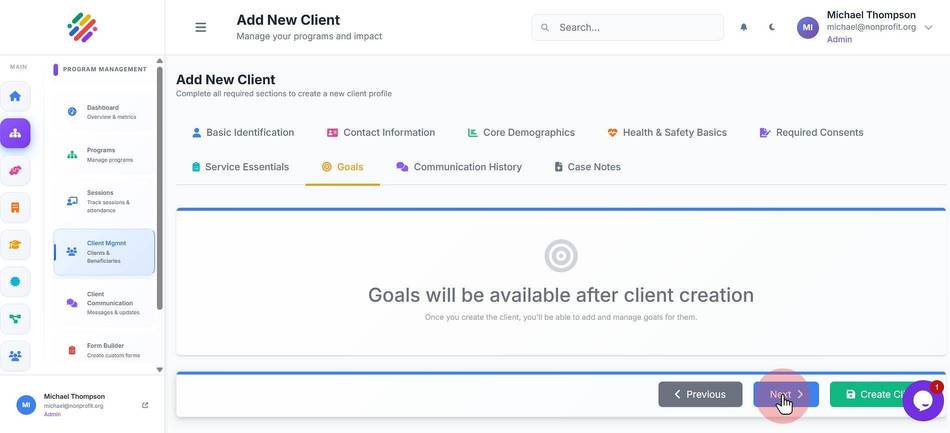
53. The "Goals" section will only be available after the client creation, so let's click "Next" to continue
54. The "Communication History" section will only be available after the client creation, so let's click "Next" to continue
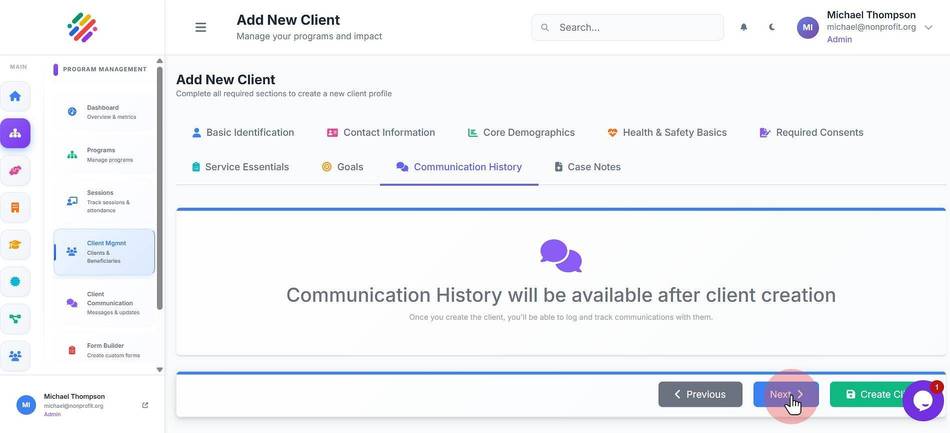
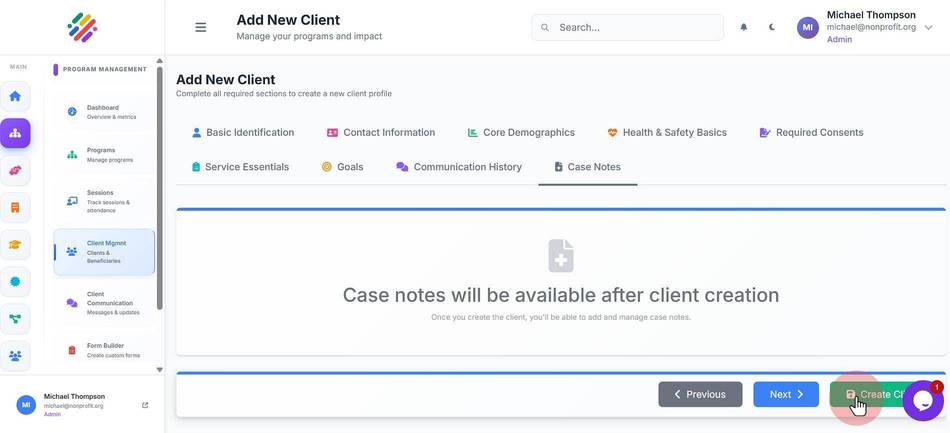
55. Click "Create Client" to finish and save the client's info