Adding Photos to Sessions
1. Click "Program Management" on the left-side menu
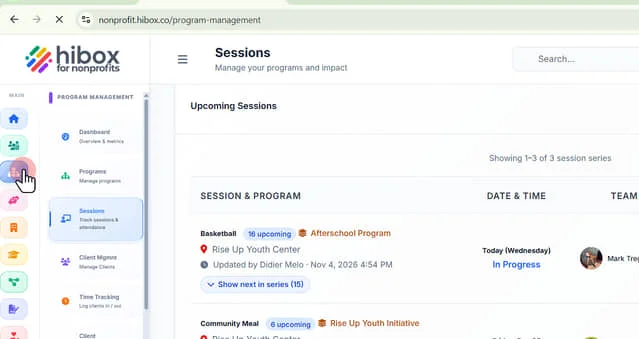
2. Click "Sessions" on the sub-menu
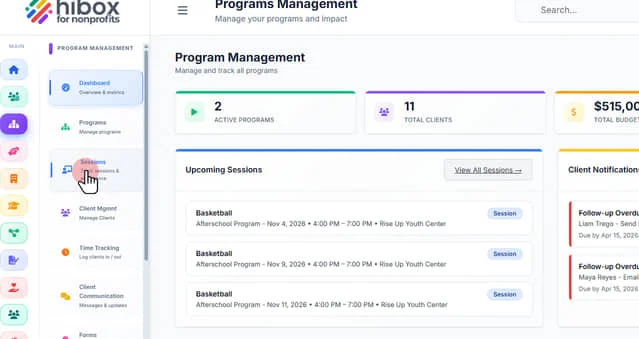
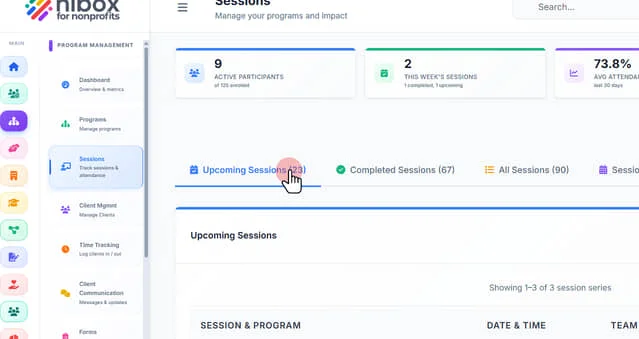
3. Navigate to the "Upcoming Sessions" tab
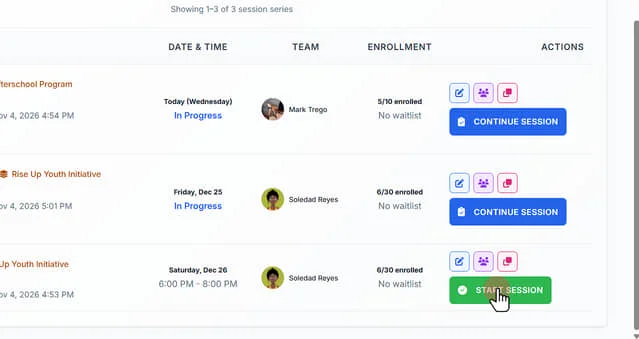
4. Find the session, and click "Start Session" once you are ready to start the session
5. Once inside the "Track Attendance" section, scroll down, mark attendance and add notes as needed during the session
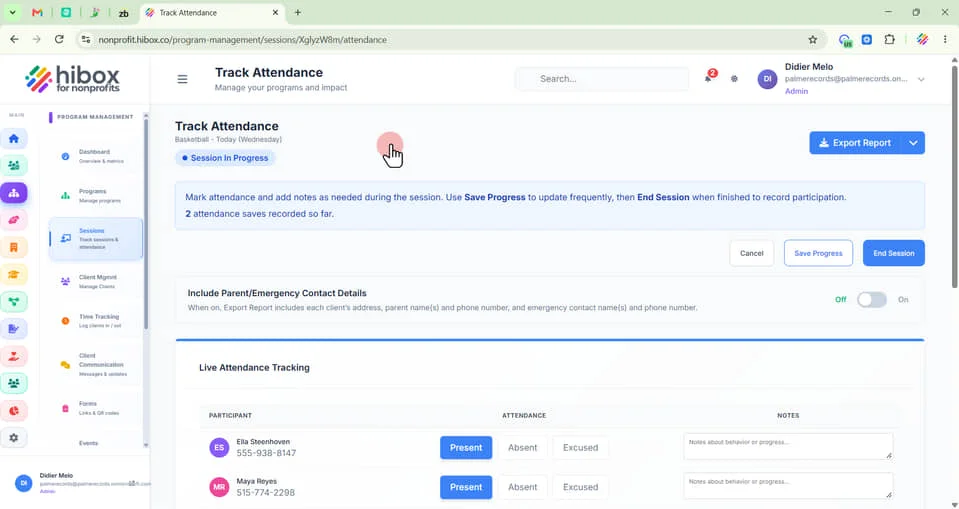
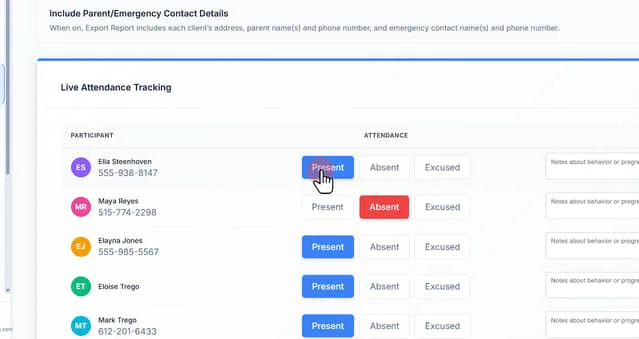
6. Click "Present, Absent, or Excused"
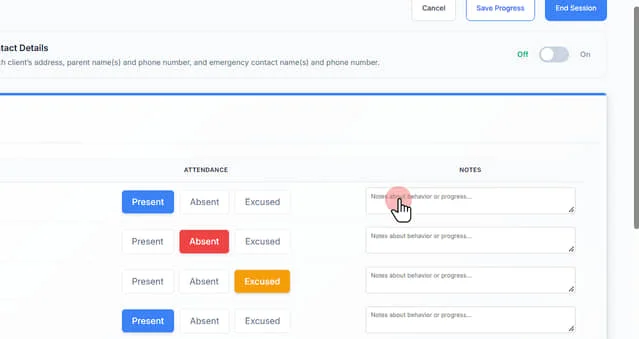
7. Leave individual "Notes" when needed here
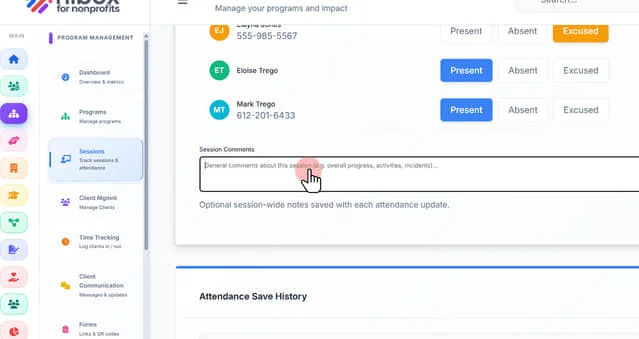
8. Leave "Session Comments" here
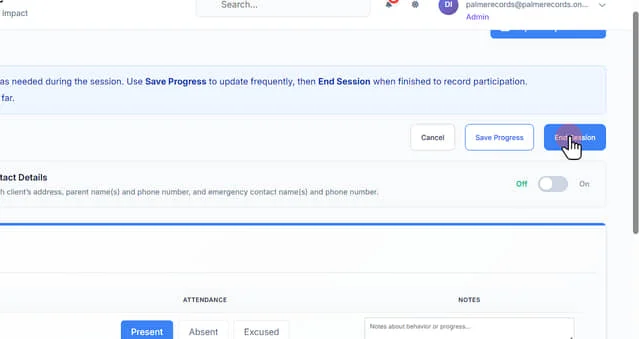
9. Scroll all the way up and click on "End Session" once you have finished taking attendance
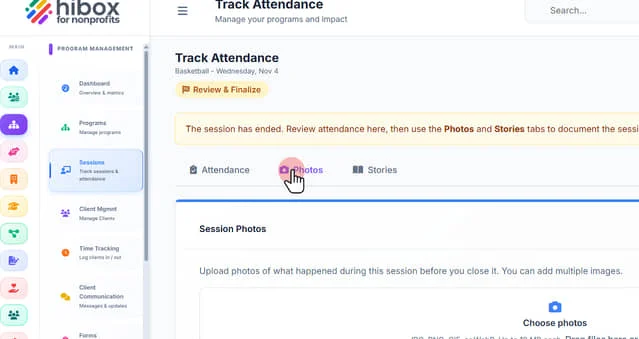
10. Navigate into the "Photos" tab
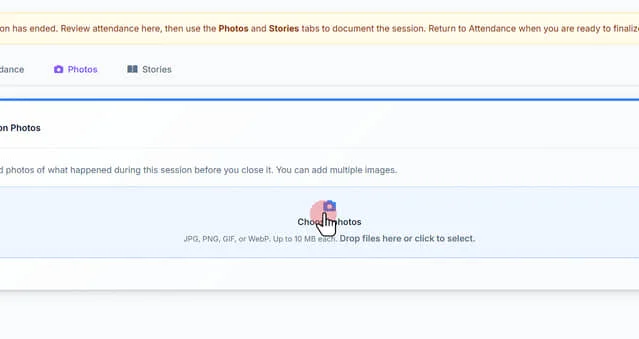
11. Click "Choose photos" Those can be JPG, PNG, GIF, or WebP. Up to 10 MB each. Drop files here or click to select.
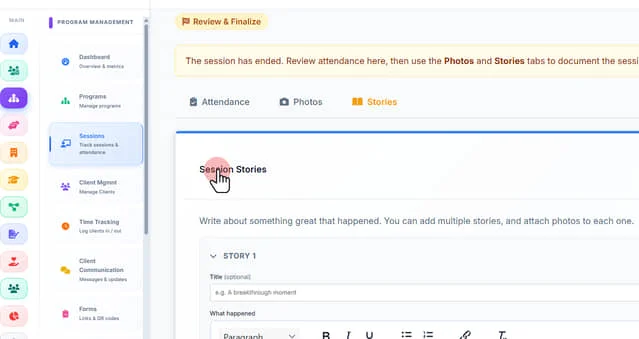
12. The other option is to navigate into the "Stories" tab
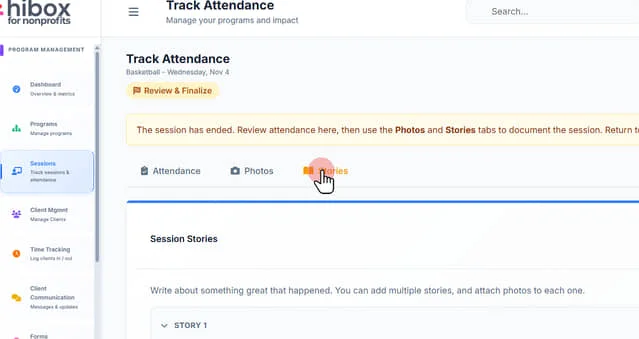
13. Inside the "Session Stories" section, you can write about what happened during the session. You can add multiple stories, and attach photos to each one
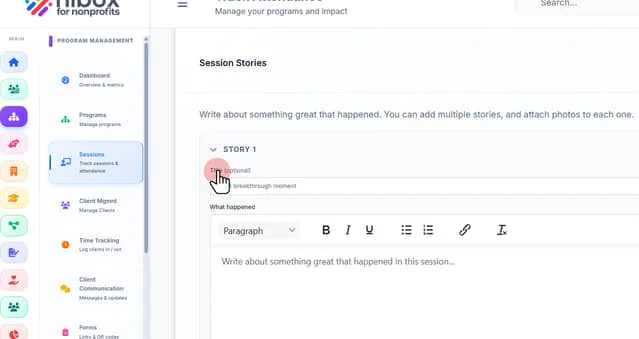
14. Enter the "Title" of the story
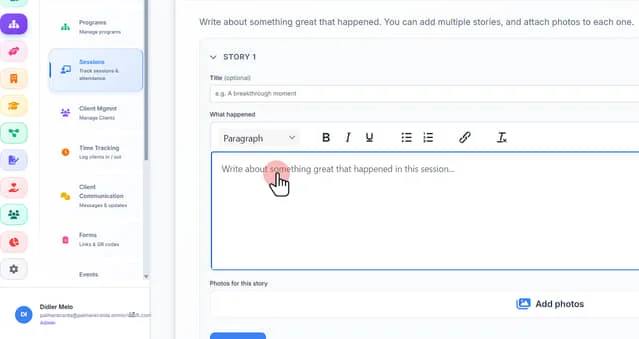
15. Scroll down to write the story
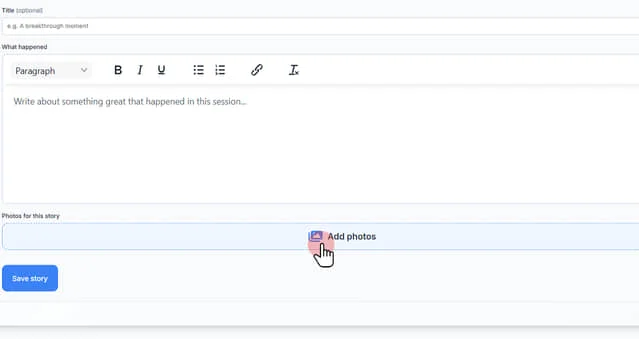
16. Scroll down and click on "Add photos" to upload your own images
 Powered by ProductLift