Creating a Client Registration Form (no parents)
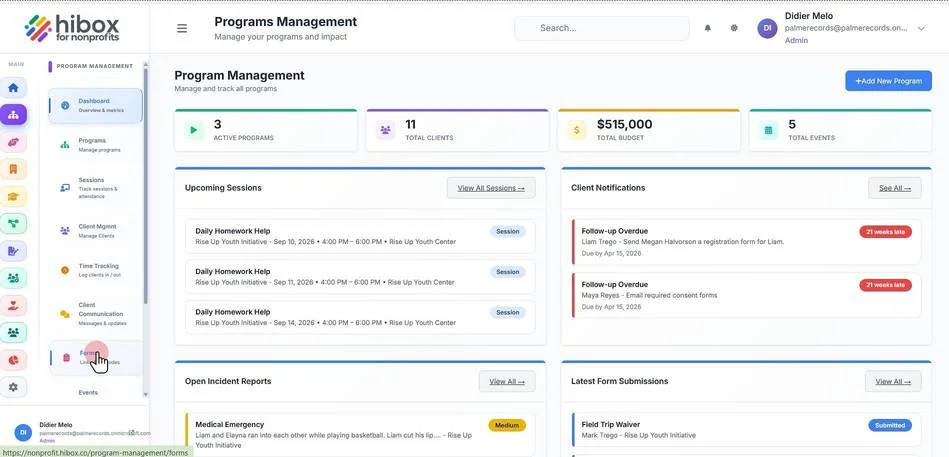
1. Click "Program Management" on the left-side menu
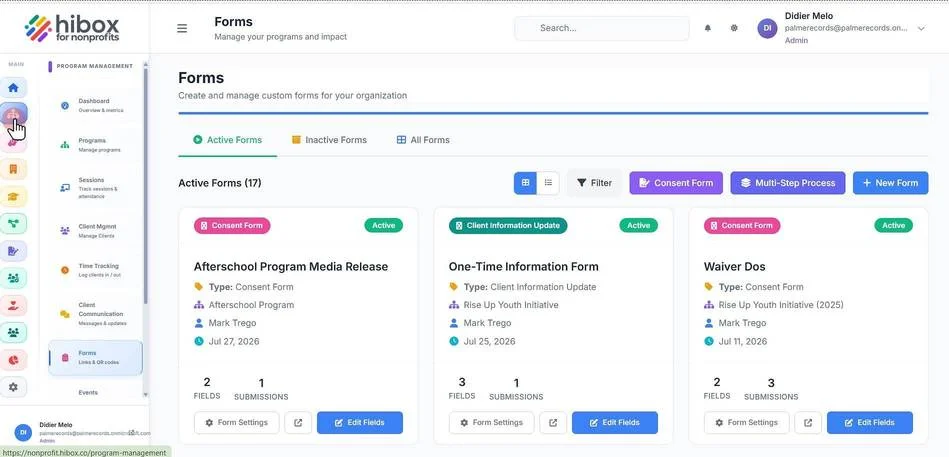
2. Click "Forms" on the sub-menu
3. Enter the "Form Title"
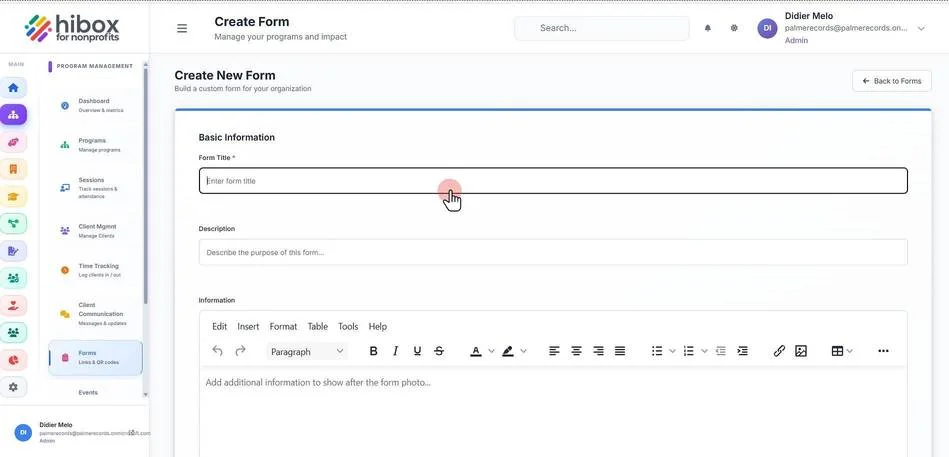
4. Enter a "Description"
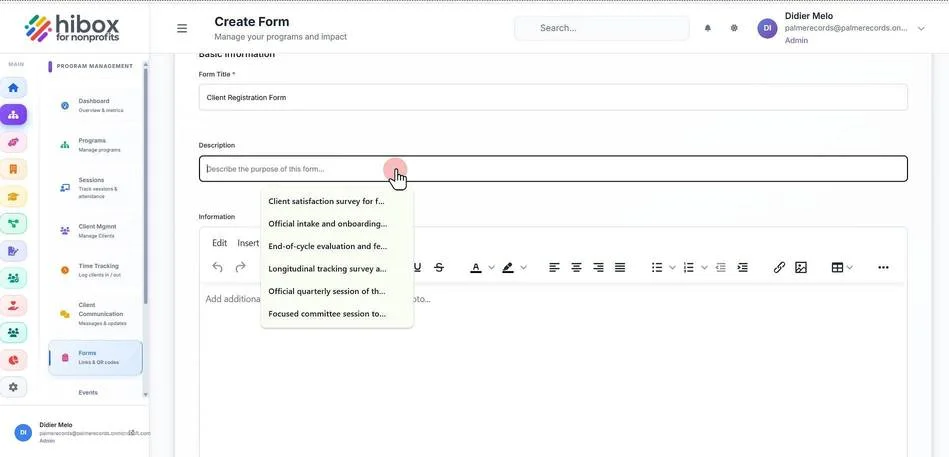
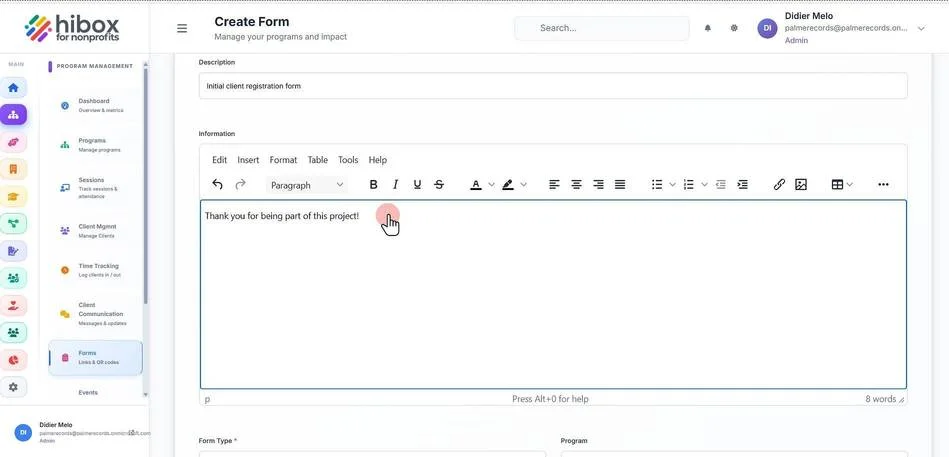
5. Add additional information to show after the form photo
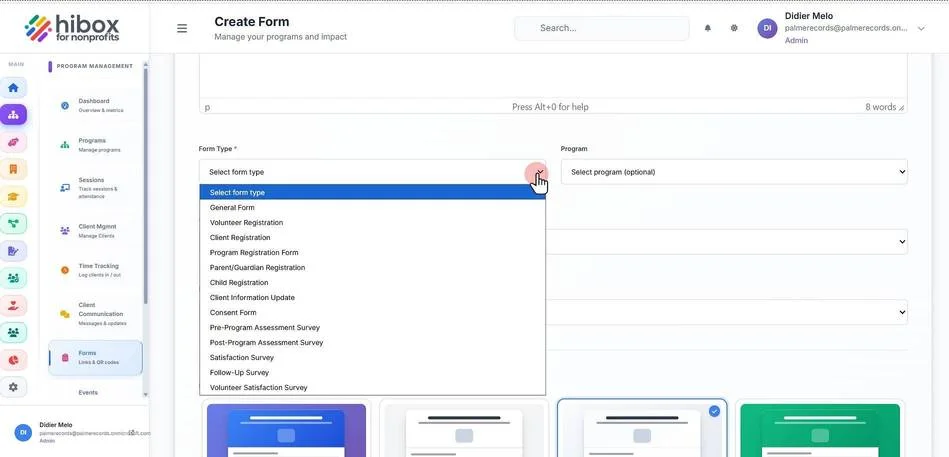
6. Choose a "Form Type"
7. Choose a "Session"
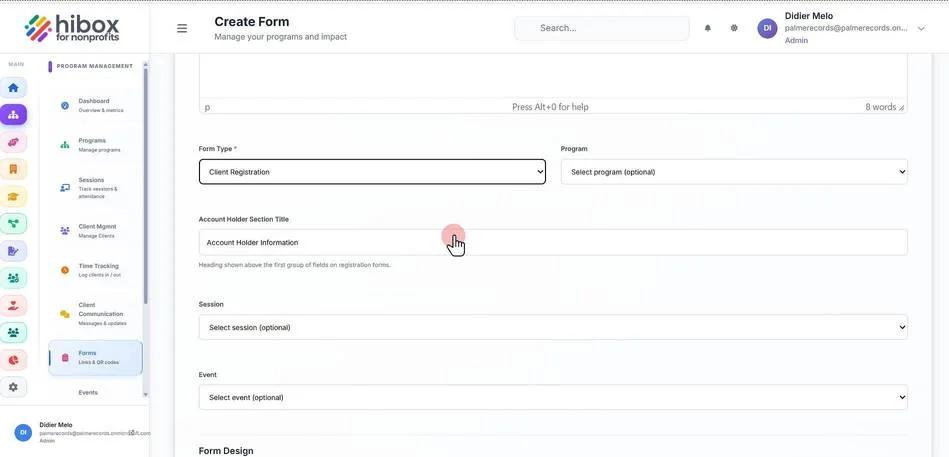
8. Click "Program" this is optional
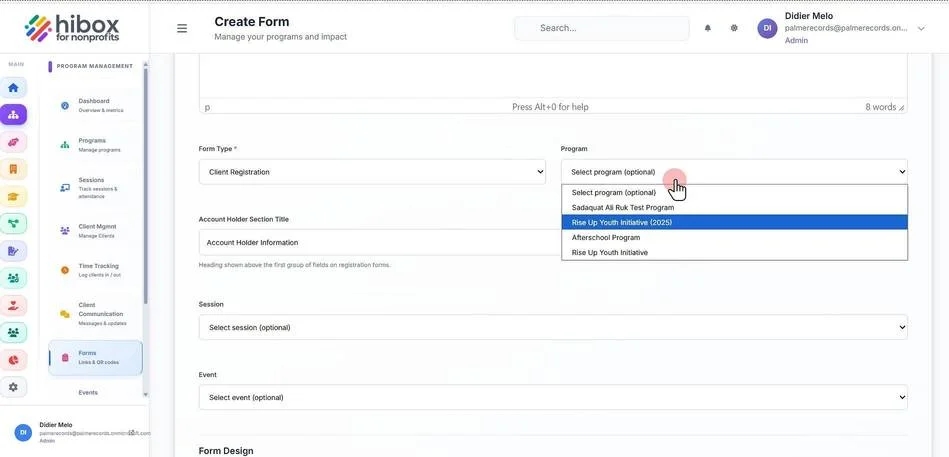
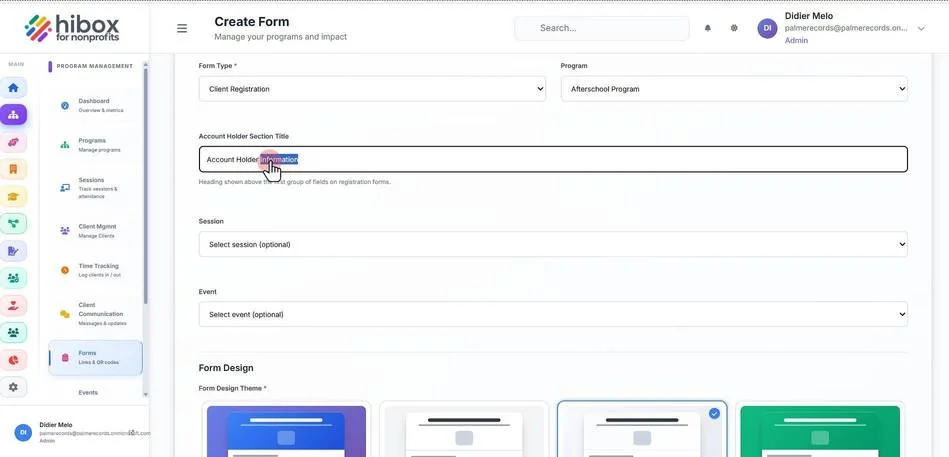
9. Enter the "Account Holder Section Title" (Heading shown above the first group of fields on registration forms)
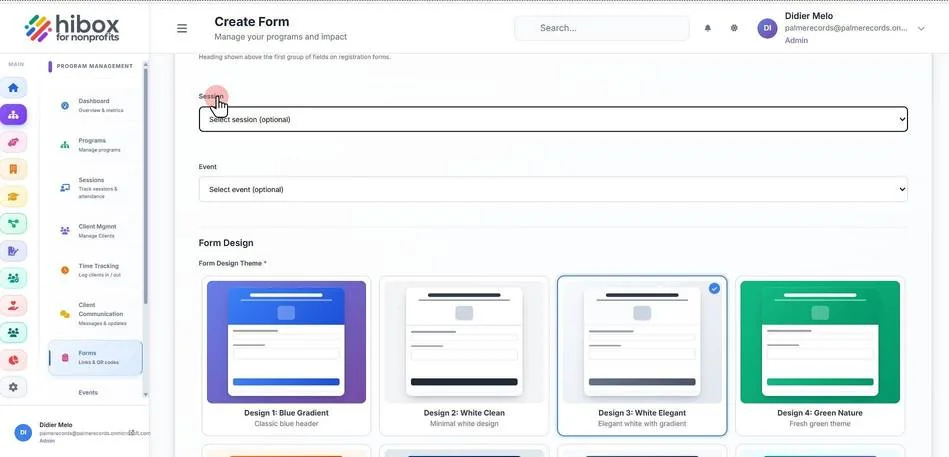
10. Select a "Session" (optional)
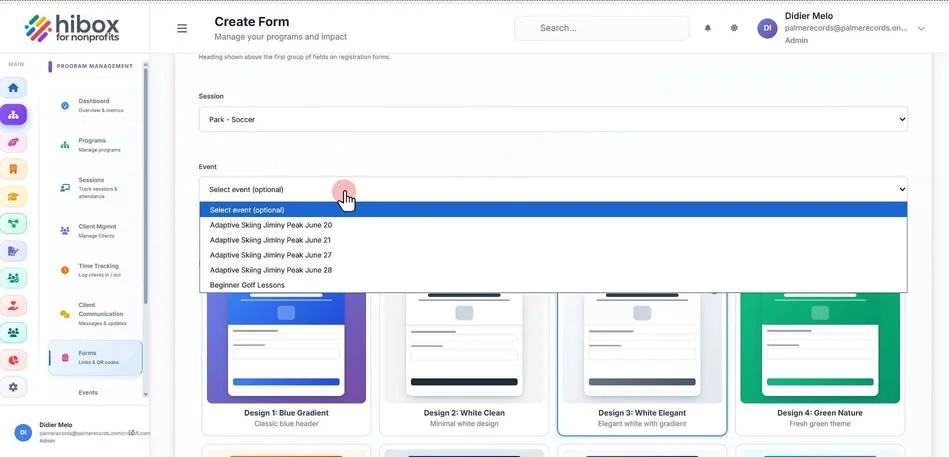
11. Select an "Event" (optional)
12. Choose a "Form Design"
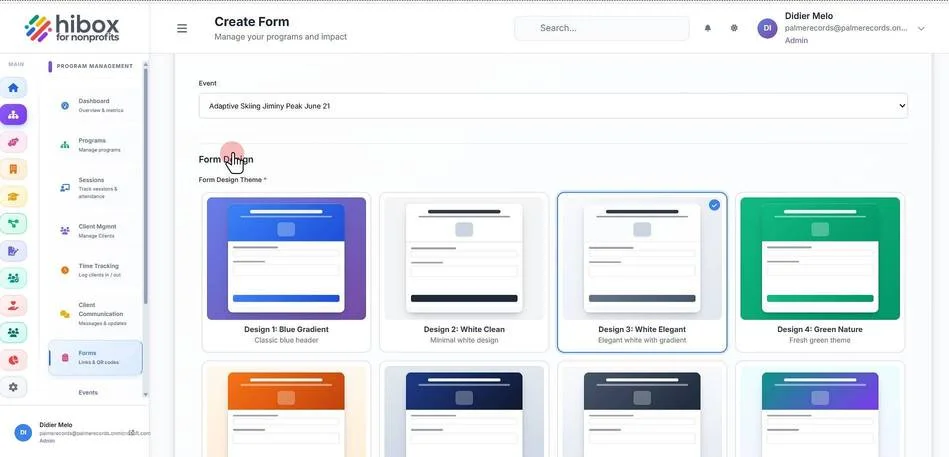
13. Click "Choose file" to upload an image from your device to display at the center of the form. If not provided, organization logo will be used
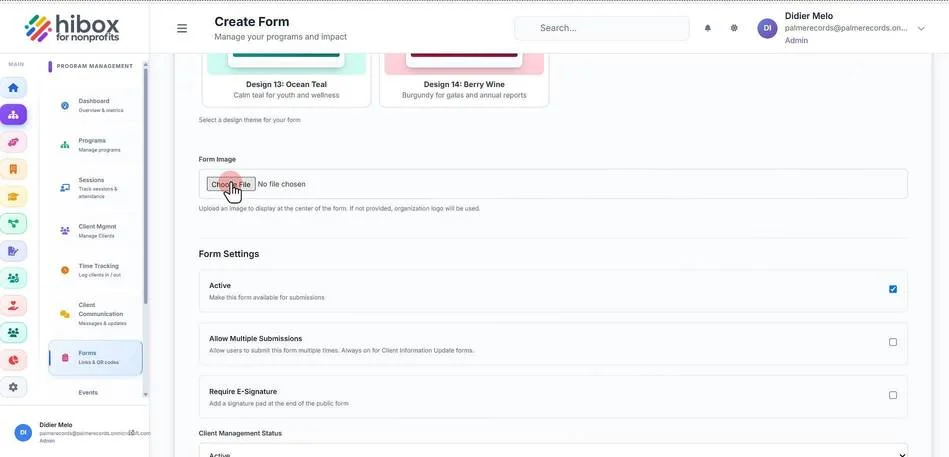
14. Scroll down to the "Form Settings" section
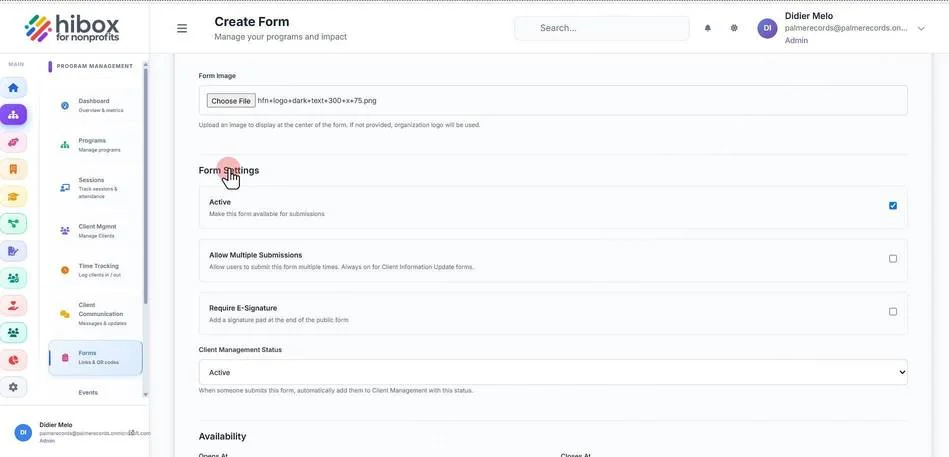
15. Set as "Active" or deactivate it by unchecking the box
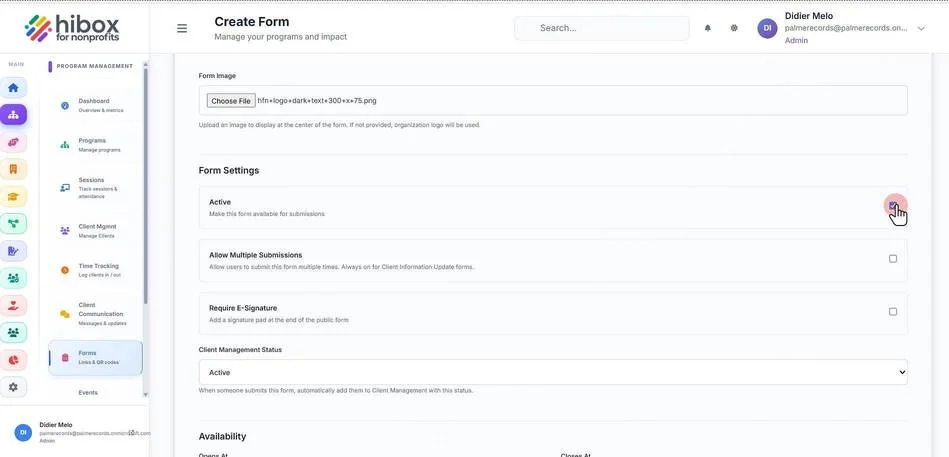
16. Enable or disable "Allow Multiple Submissions" to allow users to submit this form multiple times
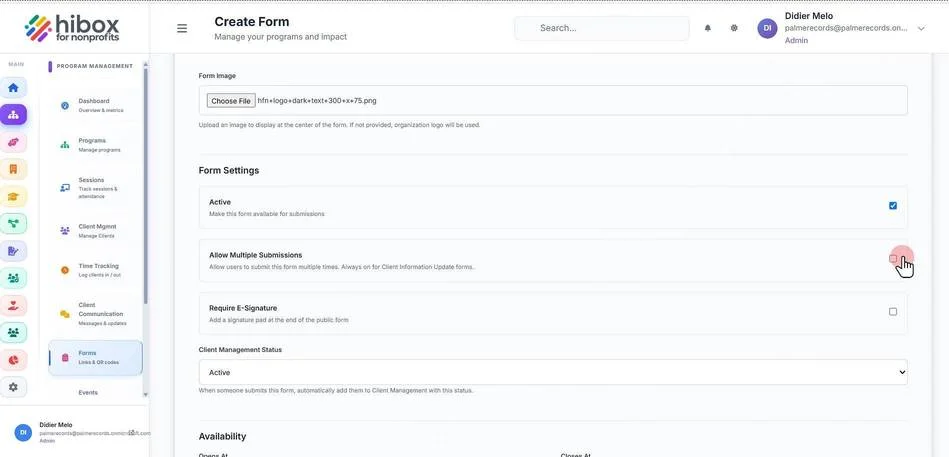
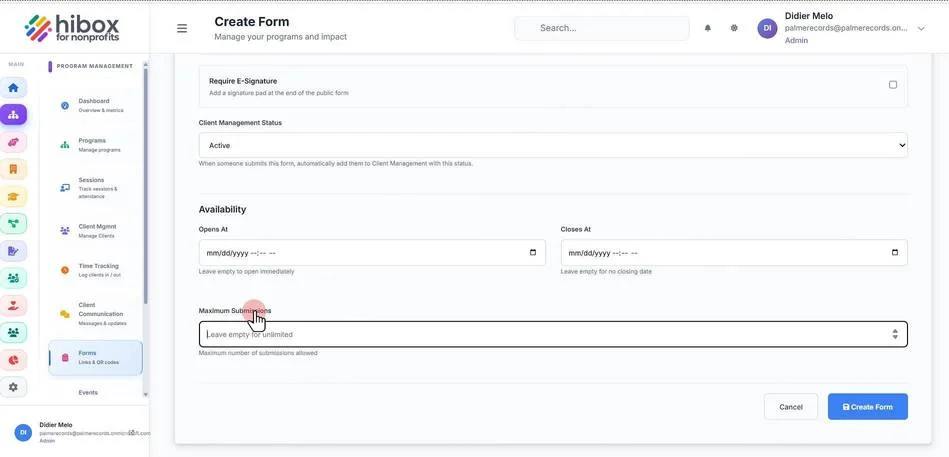
17. Enable "Require E-Signature" to add a signature pad at the end of the public form
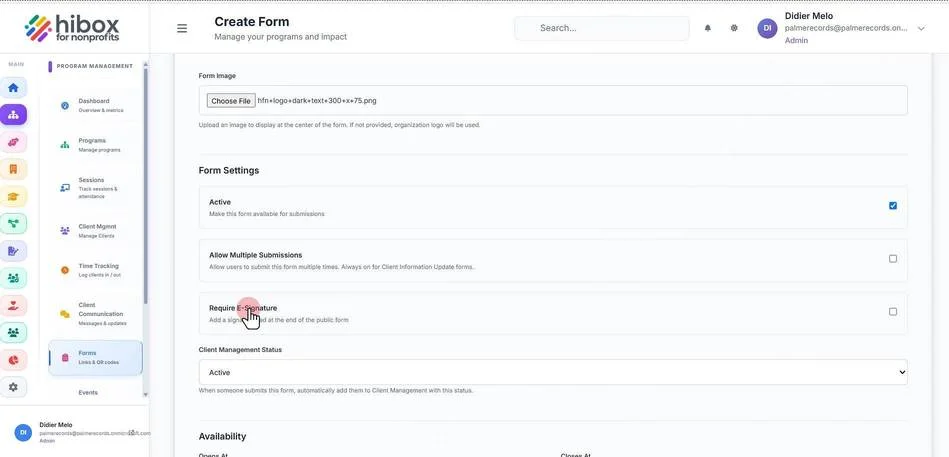
18. Set the "Client Management Status"
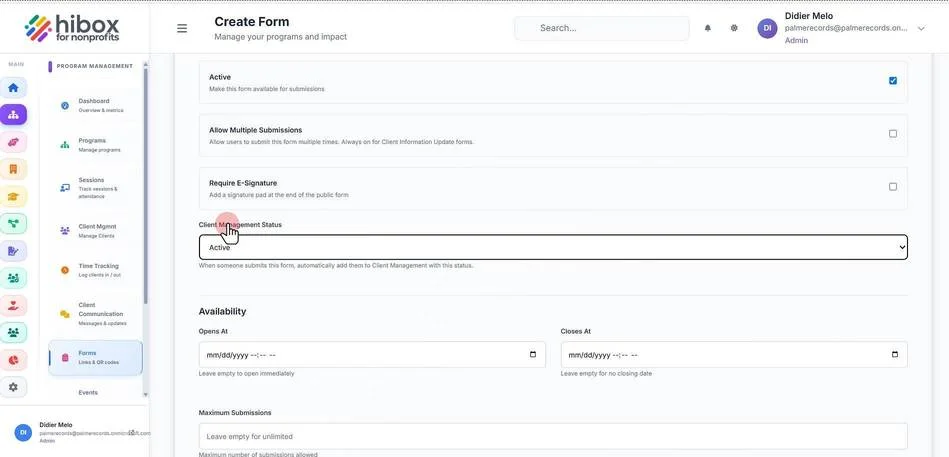
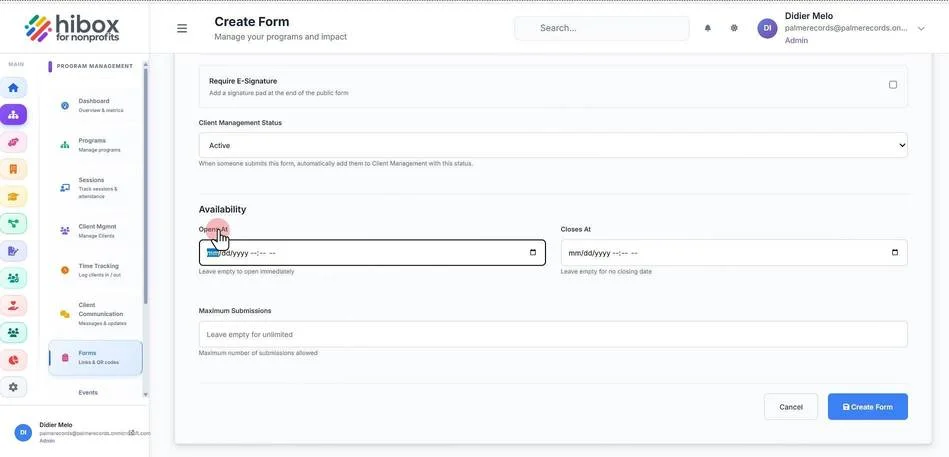
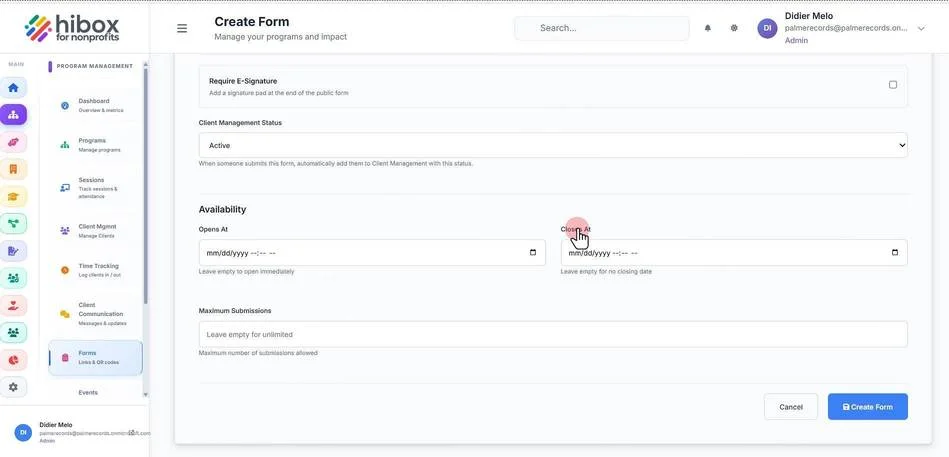
19. Set the "Availability"
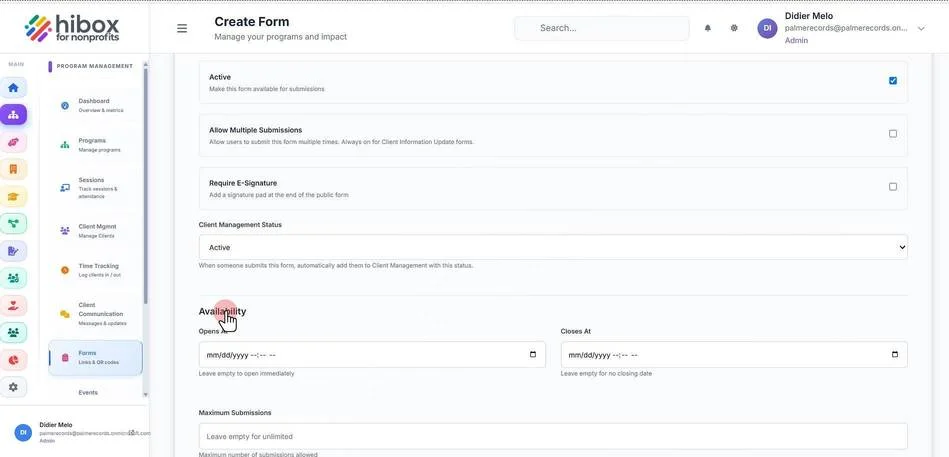
20. Set the "Opens At" time
21. Set the "Closes At" time limit
22. Set the maximum number of submissions
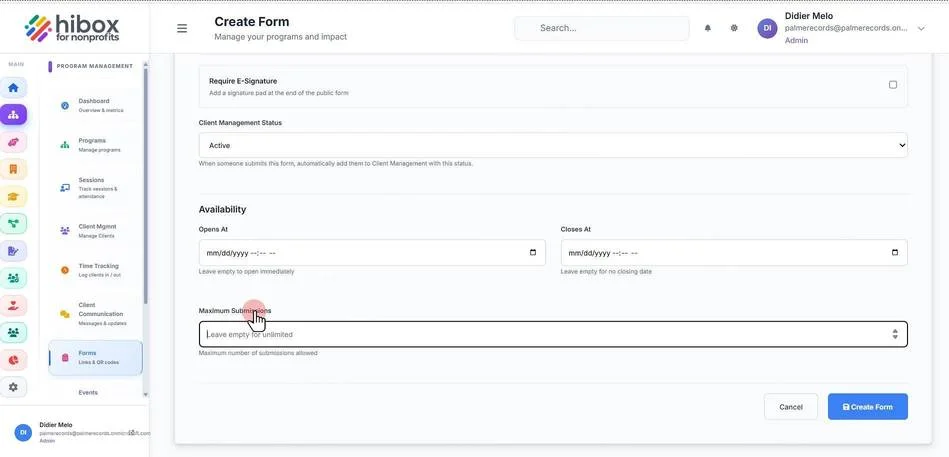
23. Click "Create Form" to finish