Creating an Event
Creating an Event
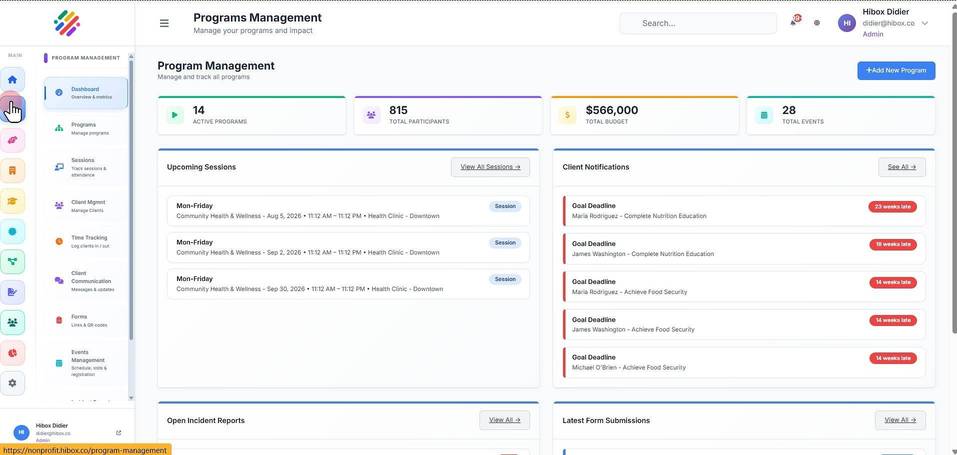
1. Click "Program"on the left side menu
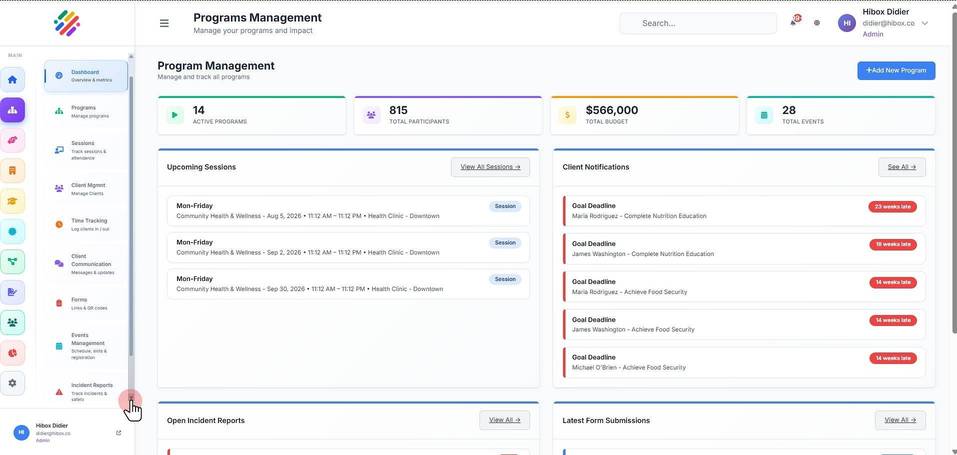
2. Scroll down on the submenu
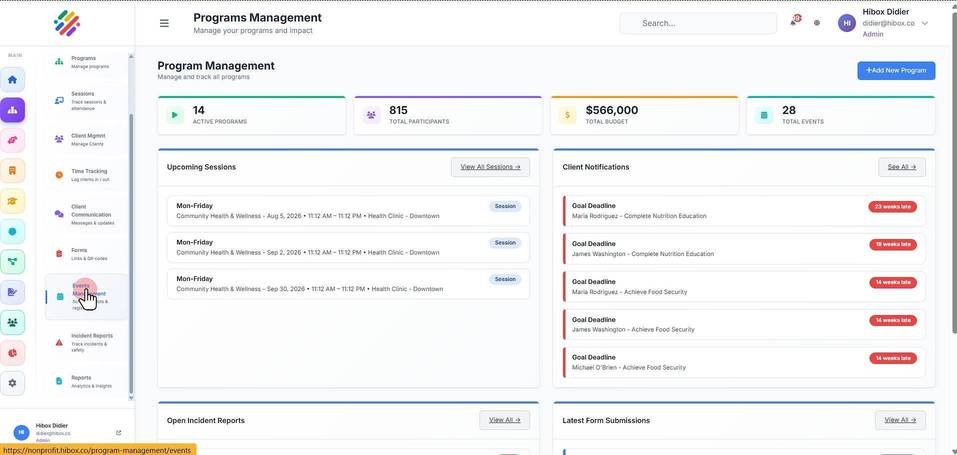
3. Click "Events Management"
4. Click the "Create Event" button
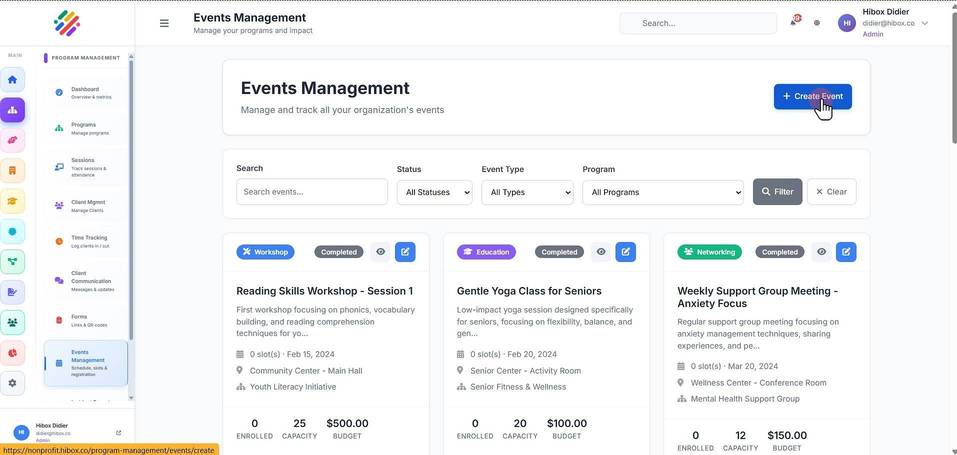
5. Type the "Event Title"
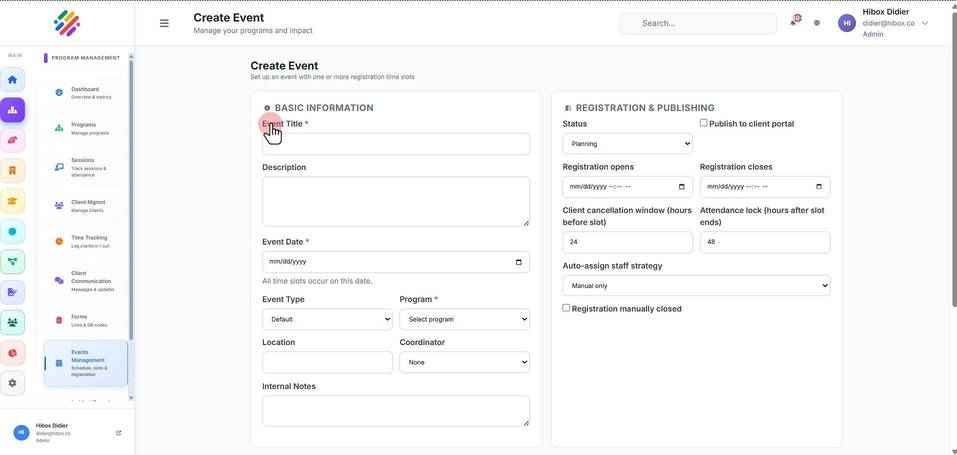
6. Type in a "Description" of the event
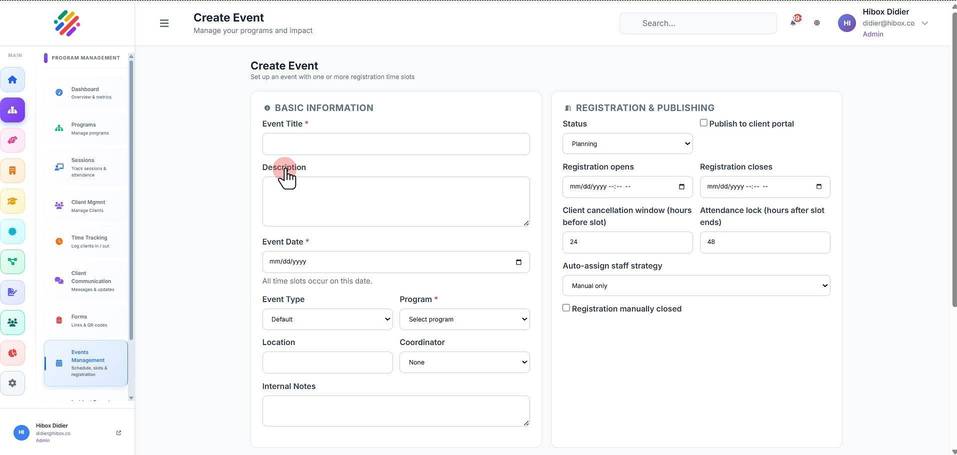
7. Set the "Event Date"
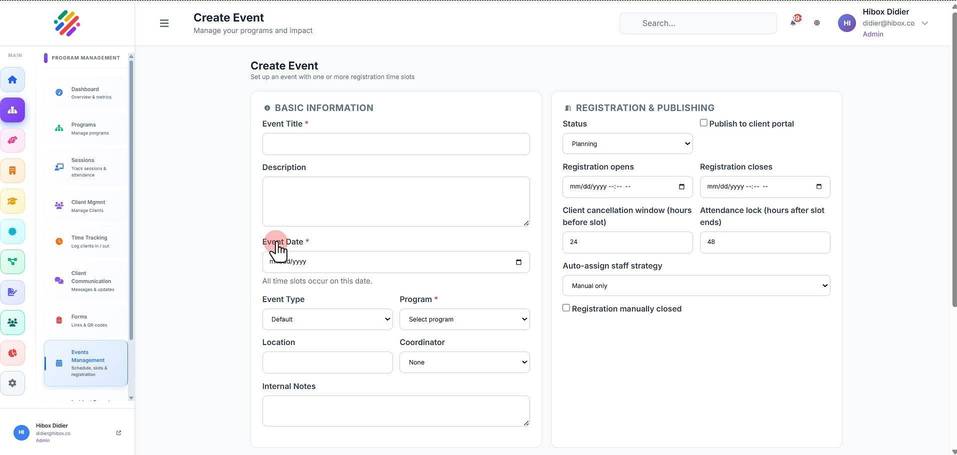
8.
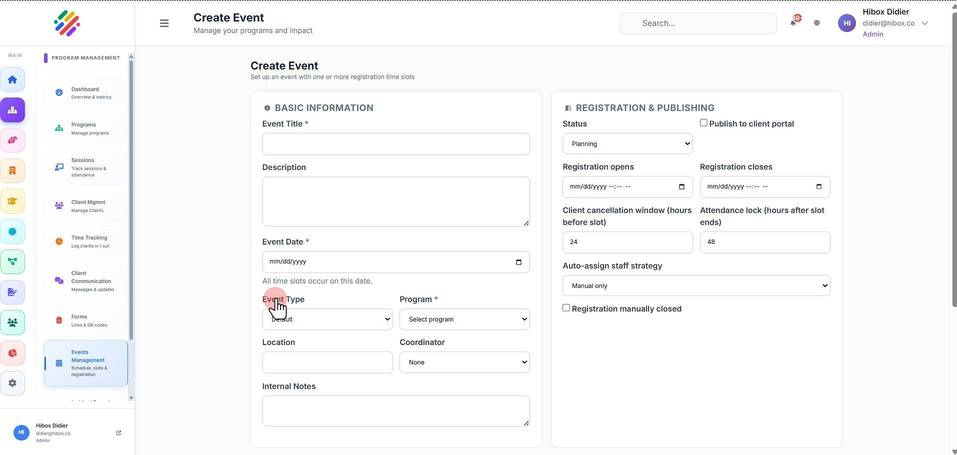
9. Choose the "Event Type"
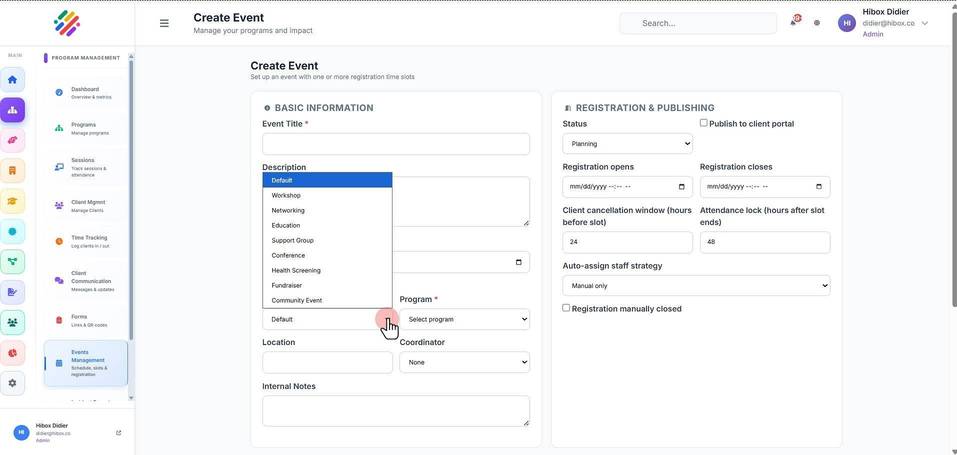
10. Select a "Program"
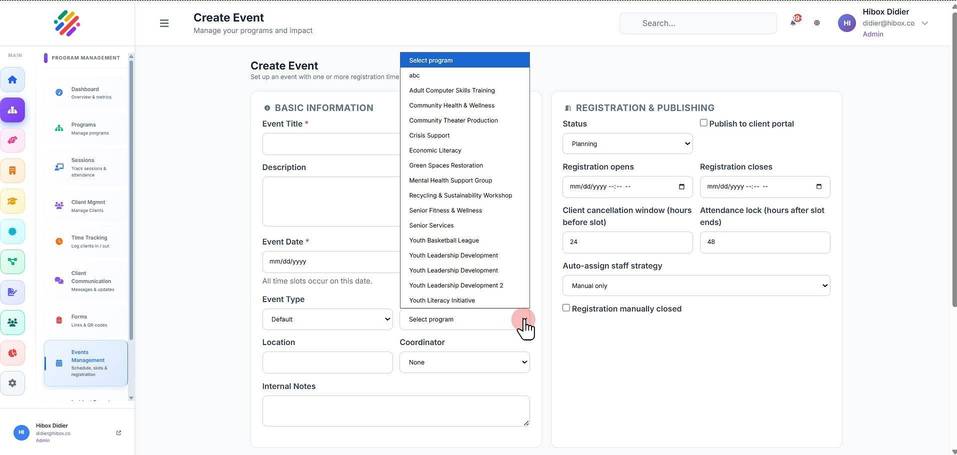
11. Specify the "Location"
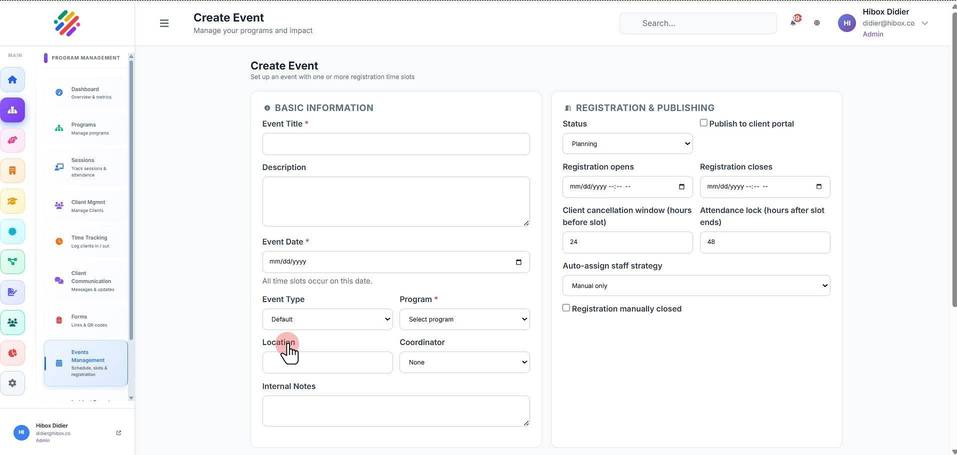
12. Assign a "Coordinator"
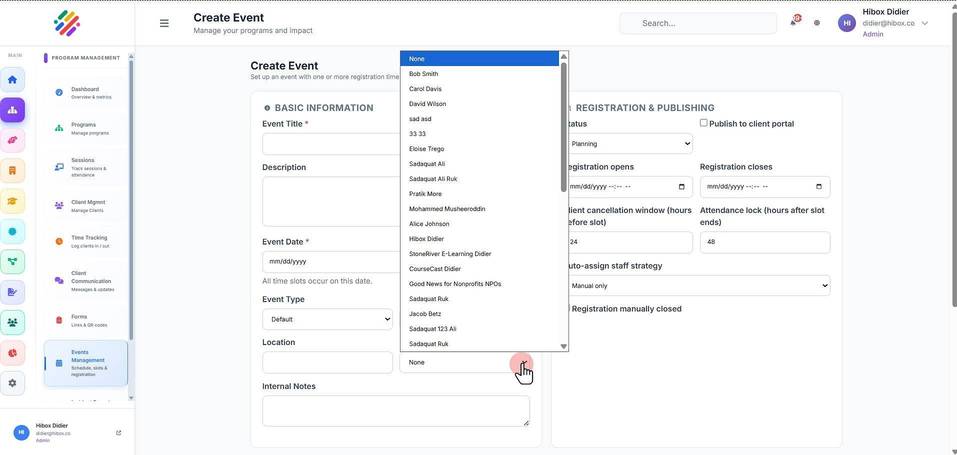
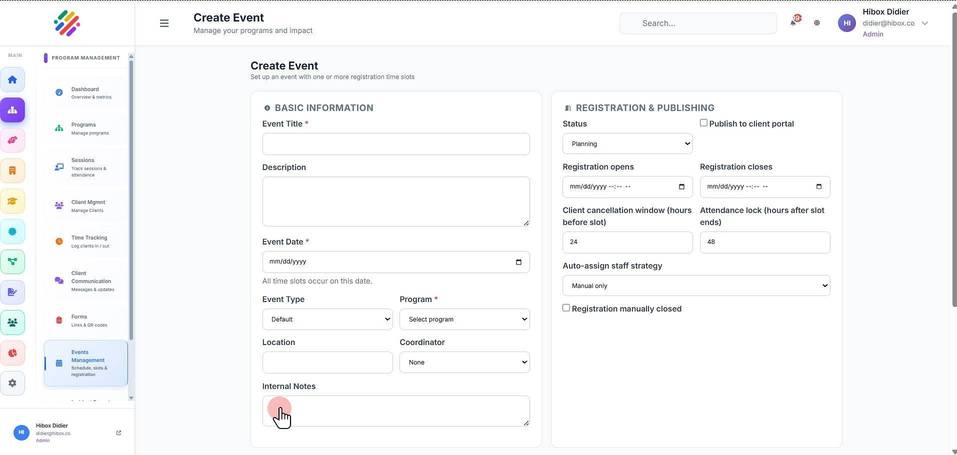
13. Leave "Internal Notes" if needed
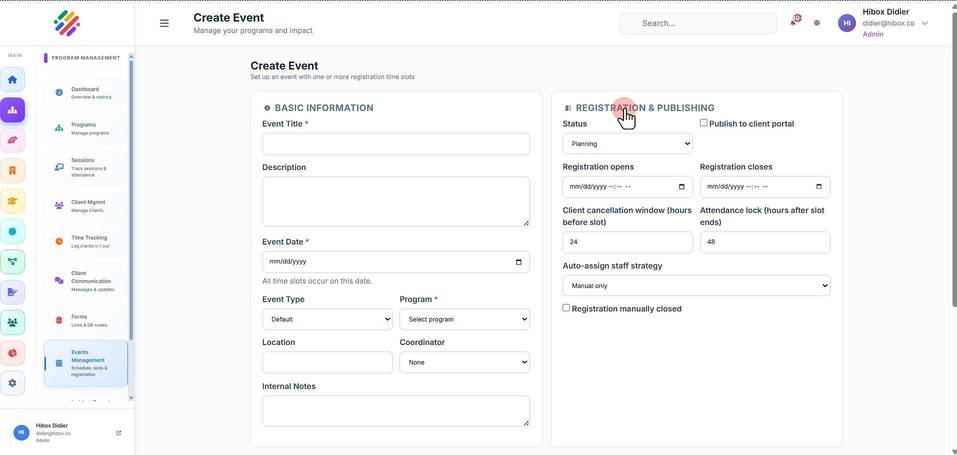
14. Move into the "REGISTRATION & PUBLISHING" section on the right
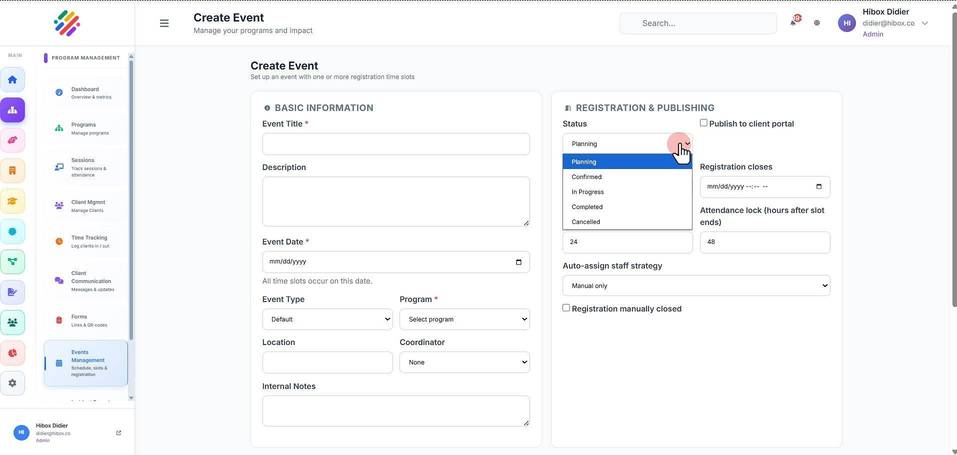
15. Select the "Status" of the event
16. Choose if you wish to "Publish to client portal"
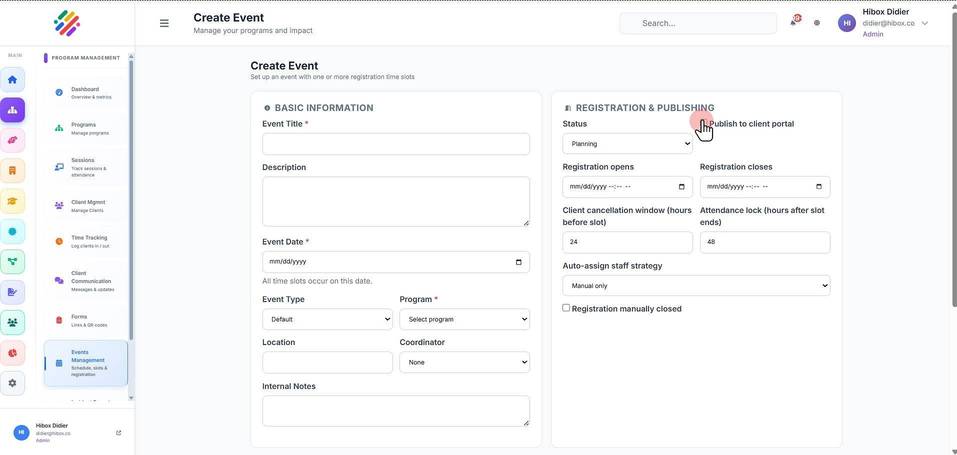
17. Set a date for then the "Registration opens"
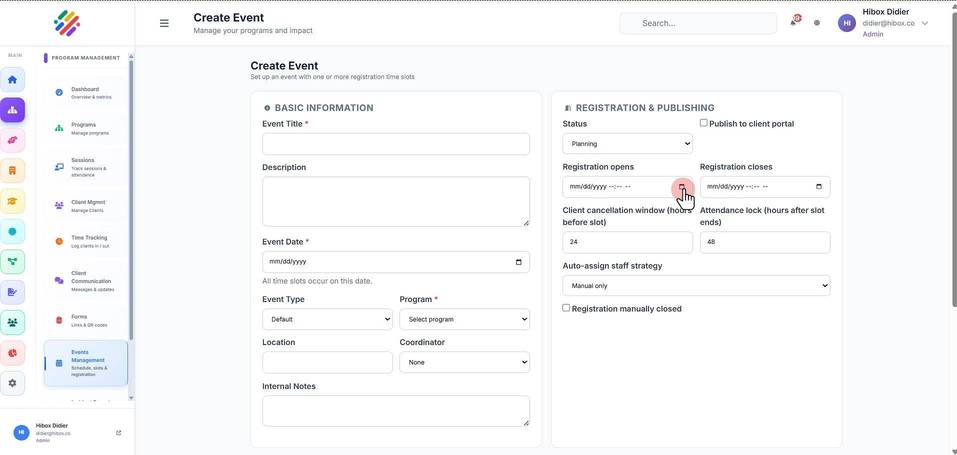
18. Set a date for then the "Registration closes"
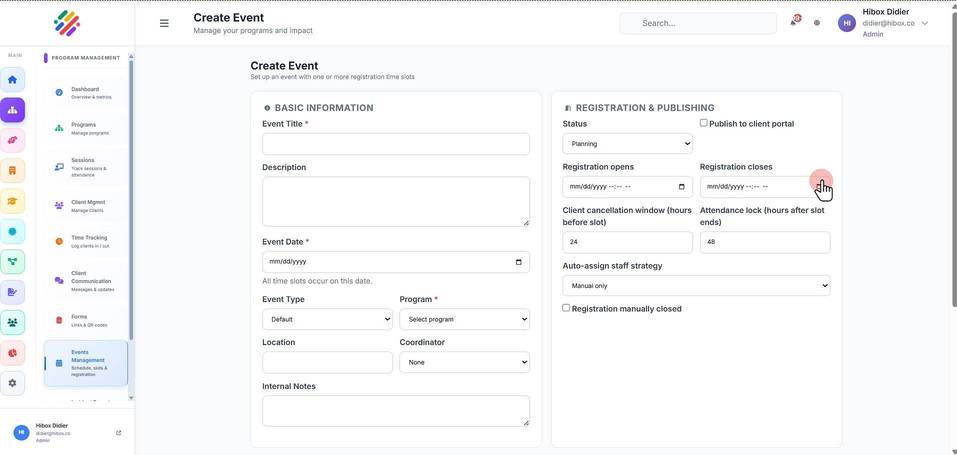
19. Set the "Client cancellation window (hours before slot)"
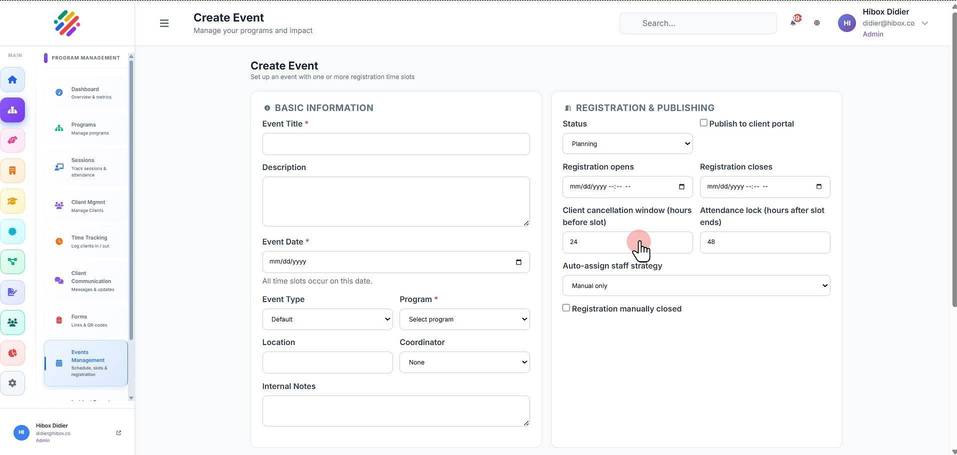
20. Choose the "Attendance lock (hours after slot ends)"
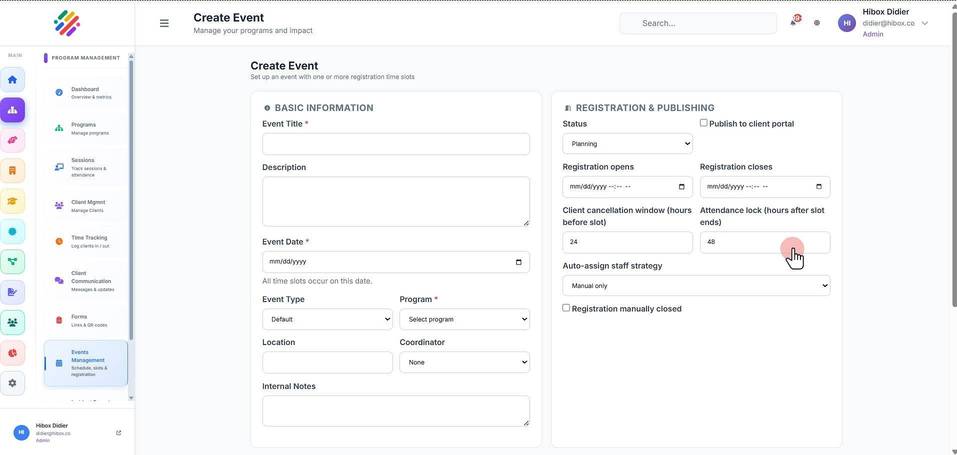
21. Click "Auto-assign staff strategy" and choose an option from the dropdown menu
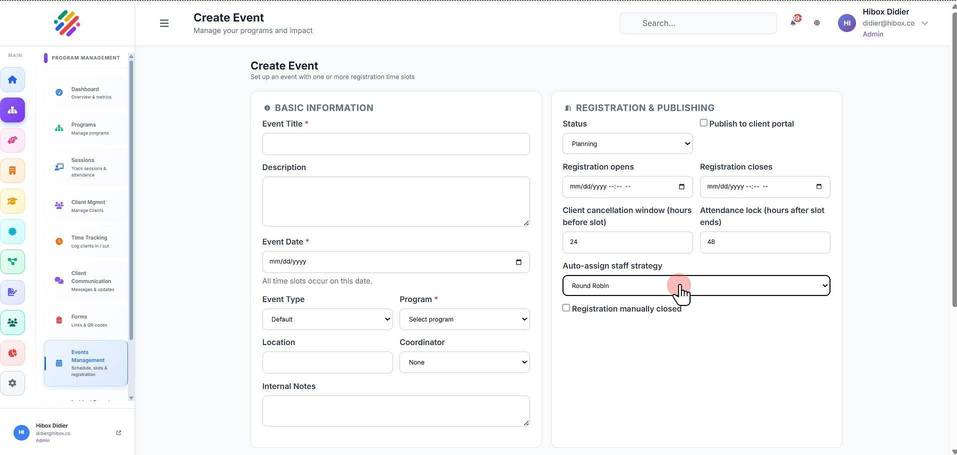
22. or check the "Registration manually closed" if you wish to close it manually
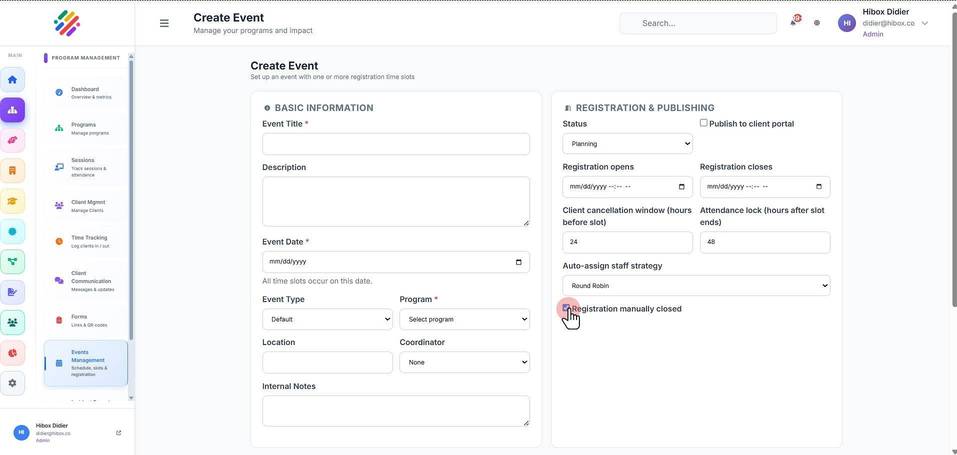
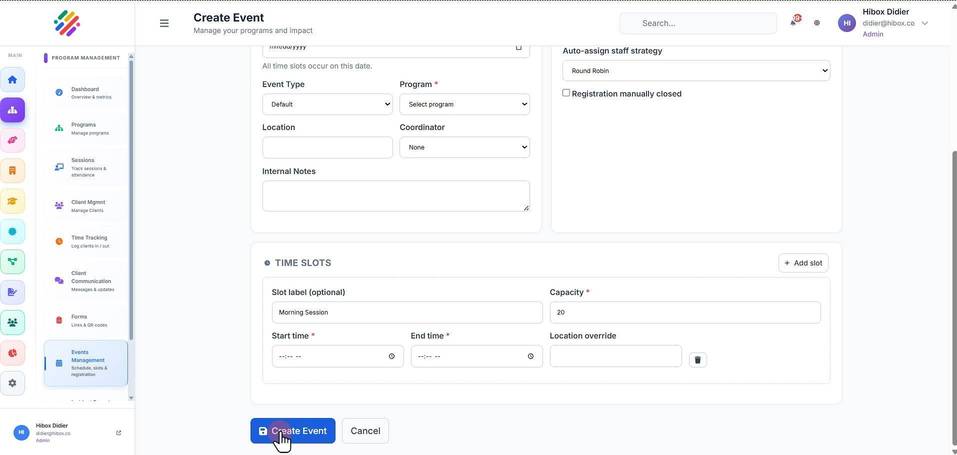
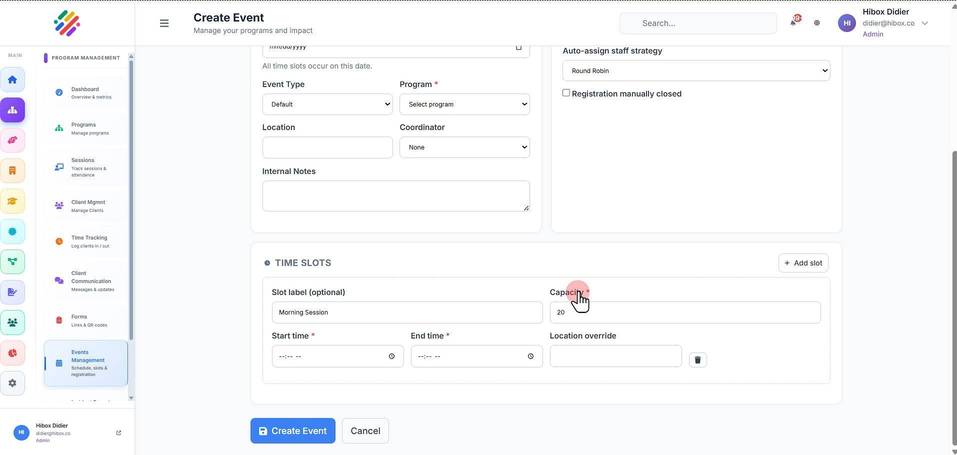
23. Scroll down and find the "Slot laber field"
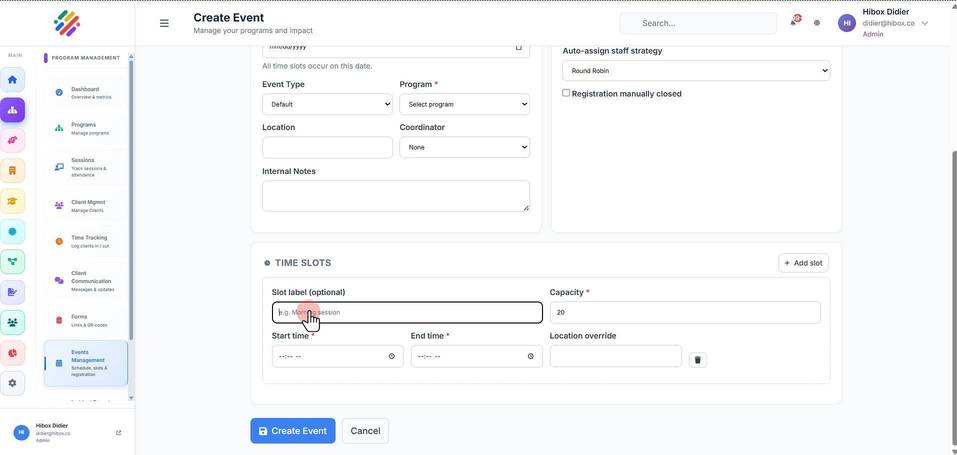
24. Set the "Capacity" of the event
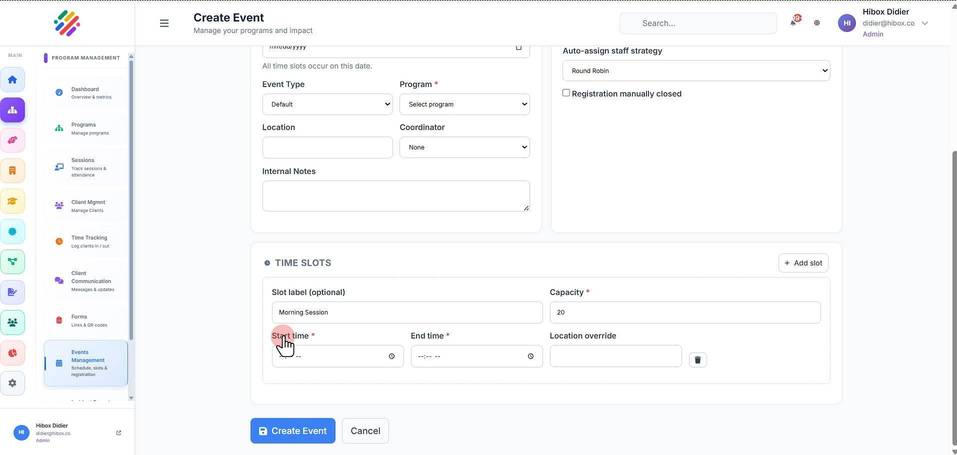
25. Set the "Start time" of the event
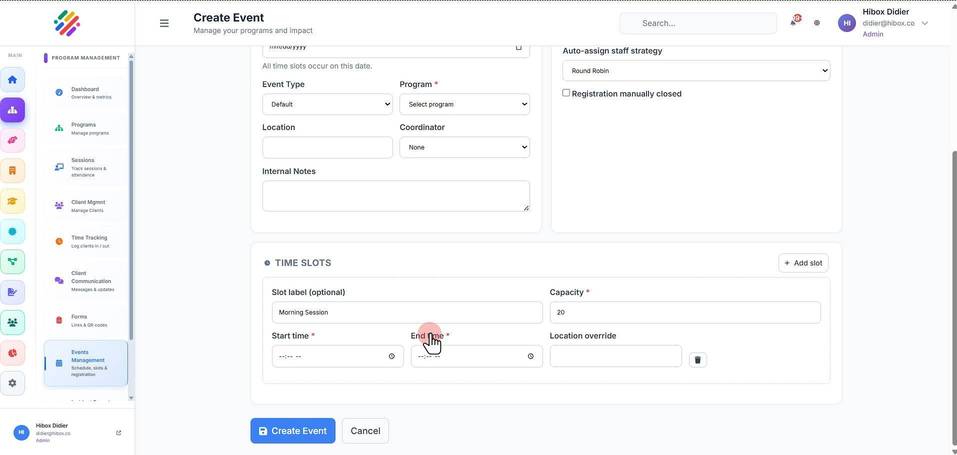
26. Set and "End time"
27. Type a "Location override"
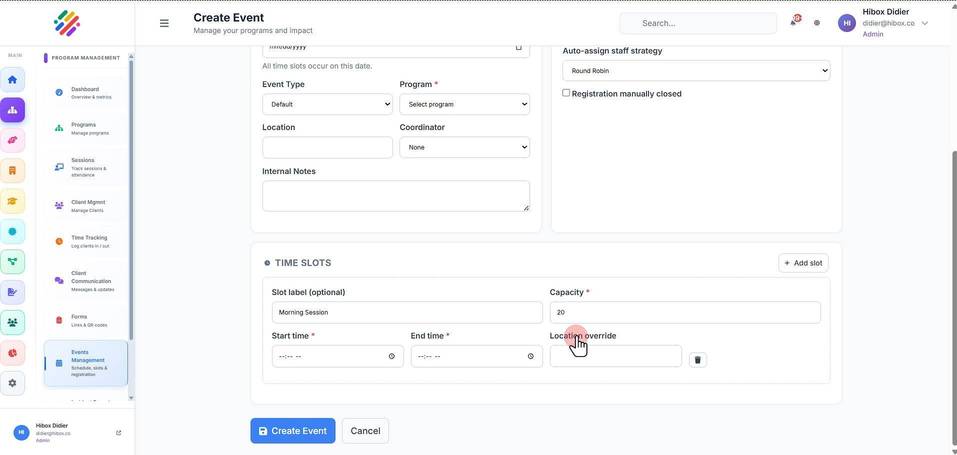
28. Click "Create Event"