Setting a Default Child Registration Form
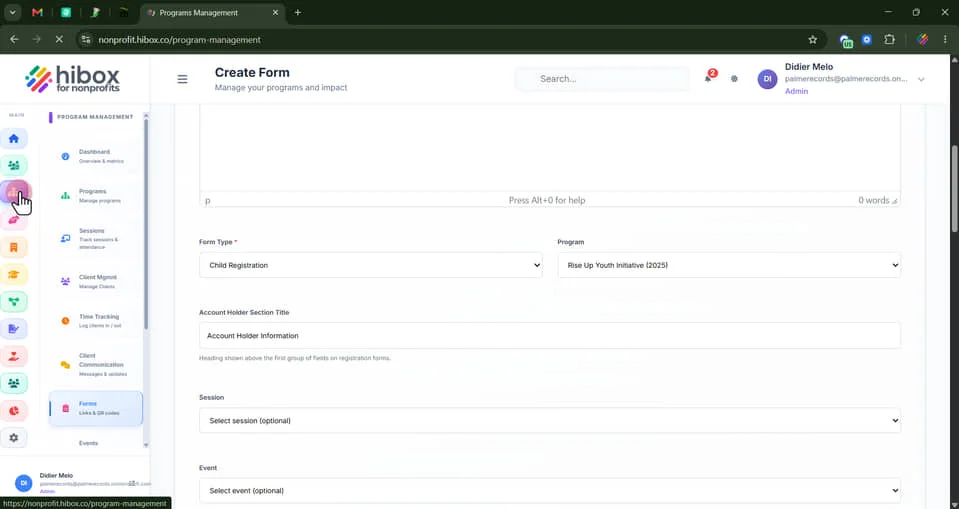
1. Click "Programs Management" on the left-side menu
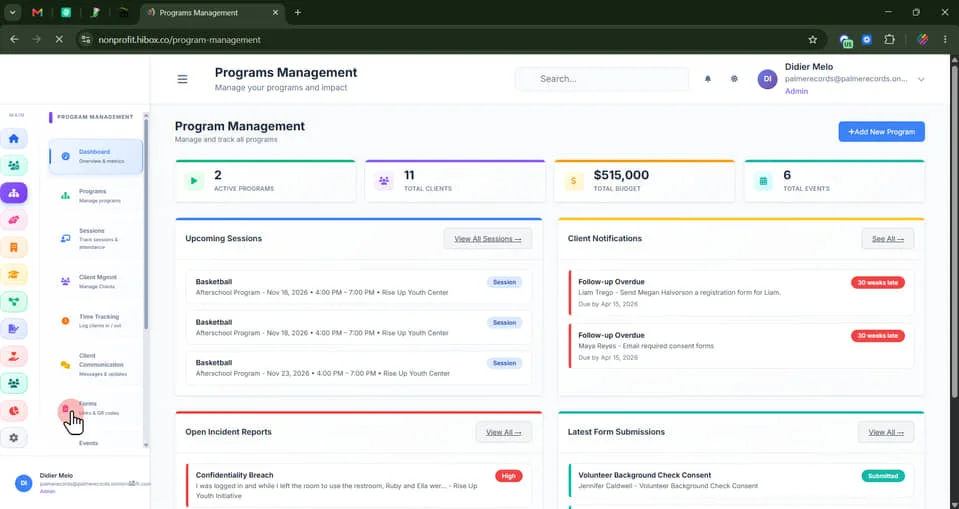
2. Click "Form" on the sub-menu
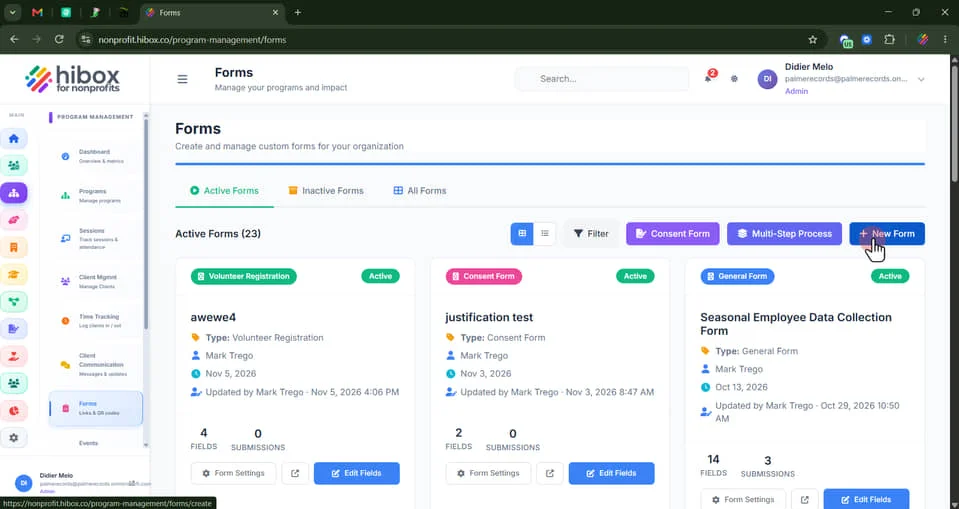
3. Click "+ New Form"
4. Click "Basic Information"
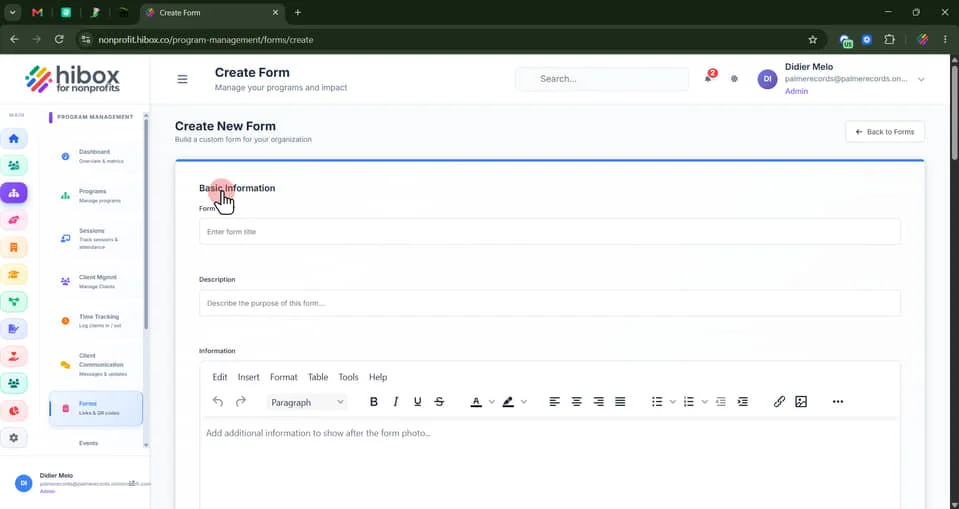
5. Enter the "Form Title"
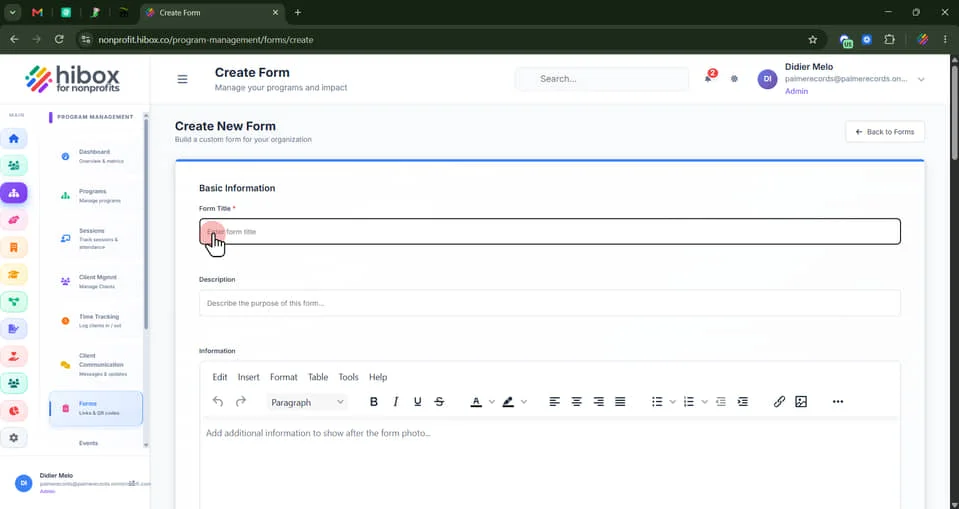
6. Type a quick "Description"
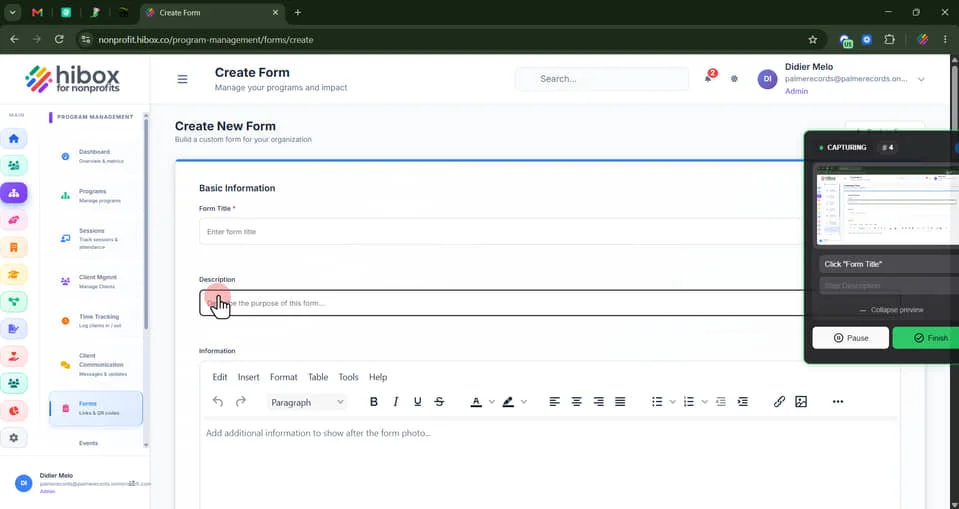
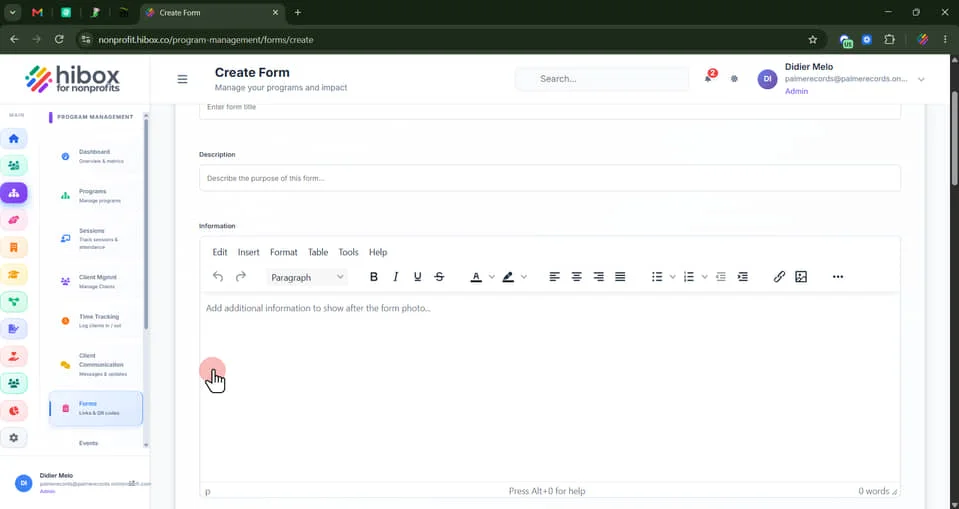
7. Add all details and information here
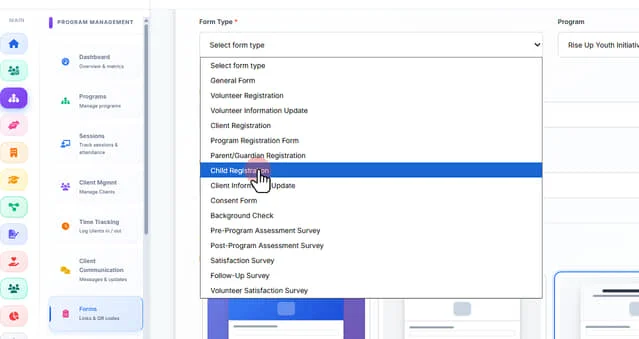
8. Use the "Form Type" dropdown menu
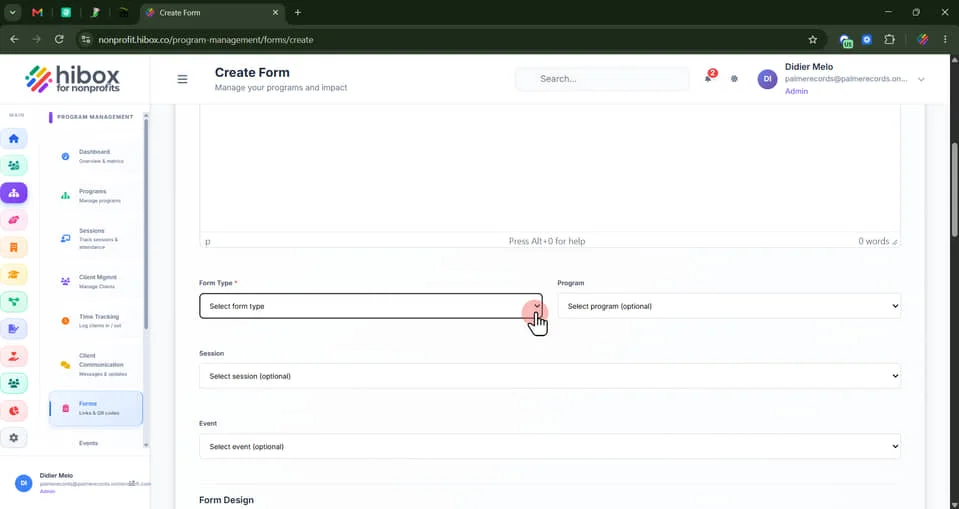
9. Select "Child registration"
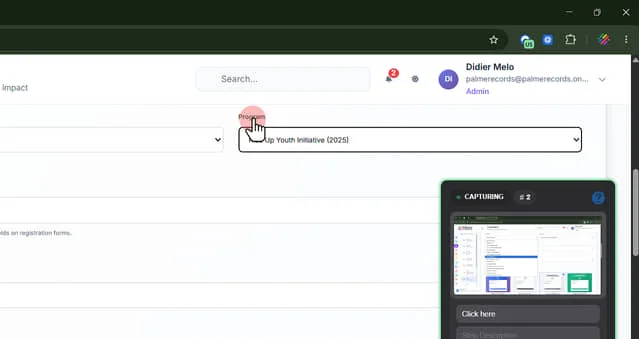
10. Select a "Program" using the drop-down menu
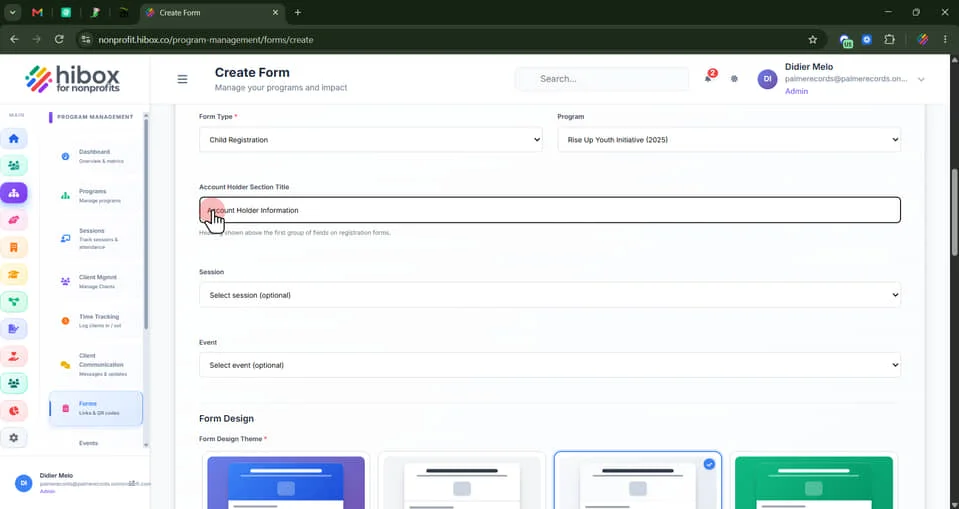
11. Type an "Account Holder Section Title", the heading shown above the first group of fields on the registration forms
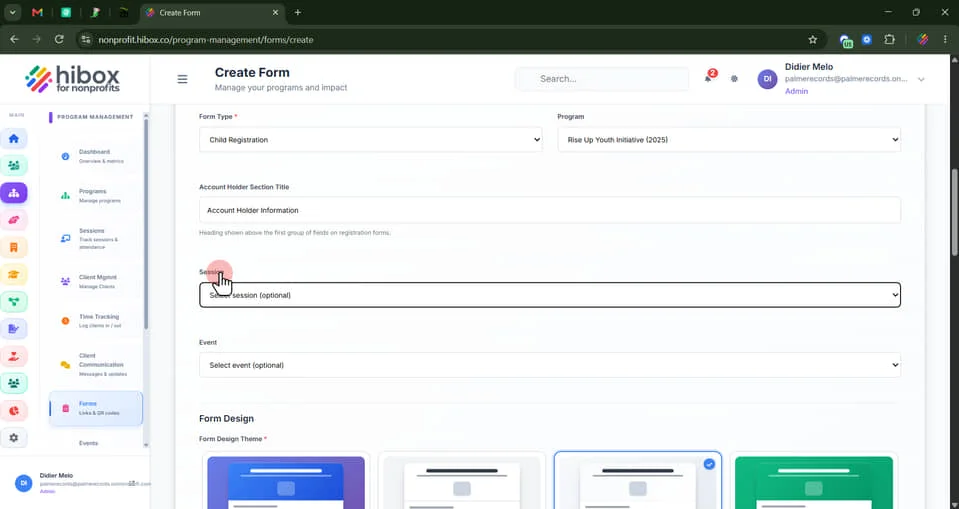
12. Select a "Session" (this is optional)
13. Select an "Event" (this is optional)
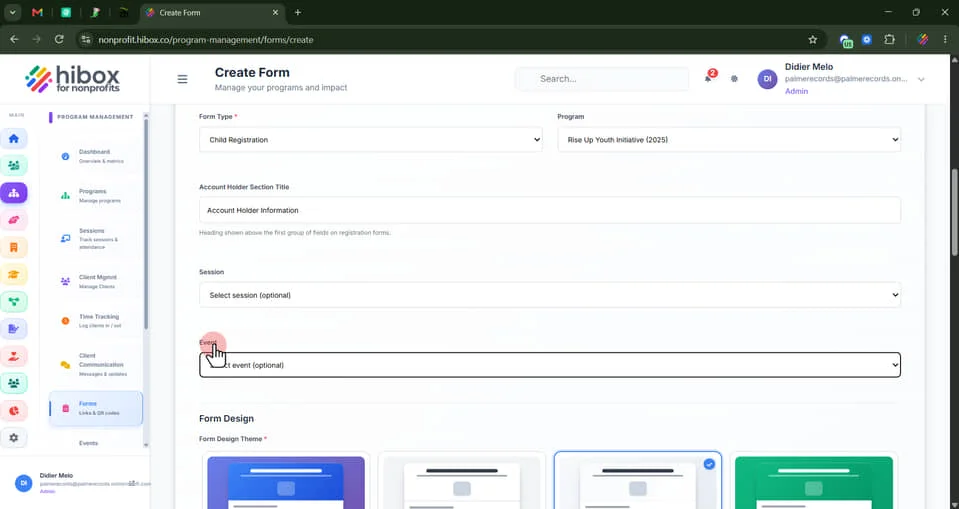
14. Choose a "Form Design"
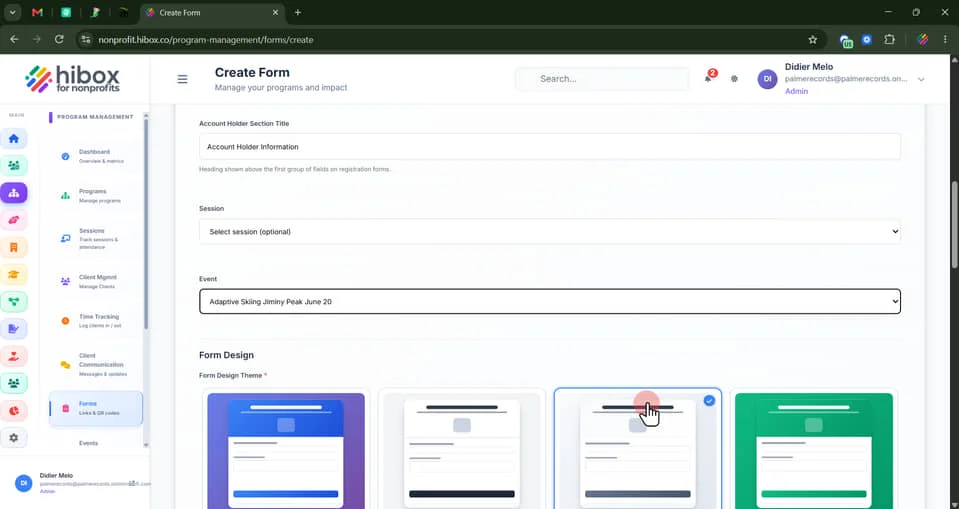
15. Scroll down and upload an form image if needed
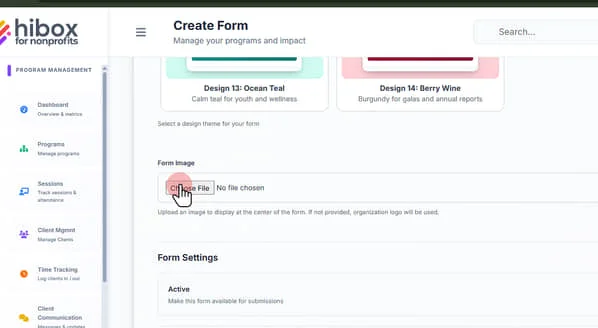
16. Scroll down into the "Form Settings"
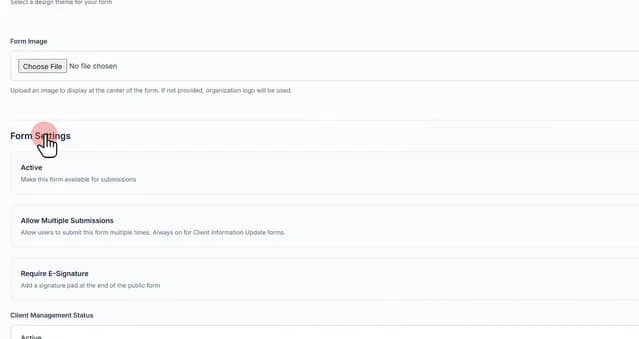
17. Check the "Active" box to make activate the form as soon as it is saved
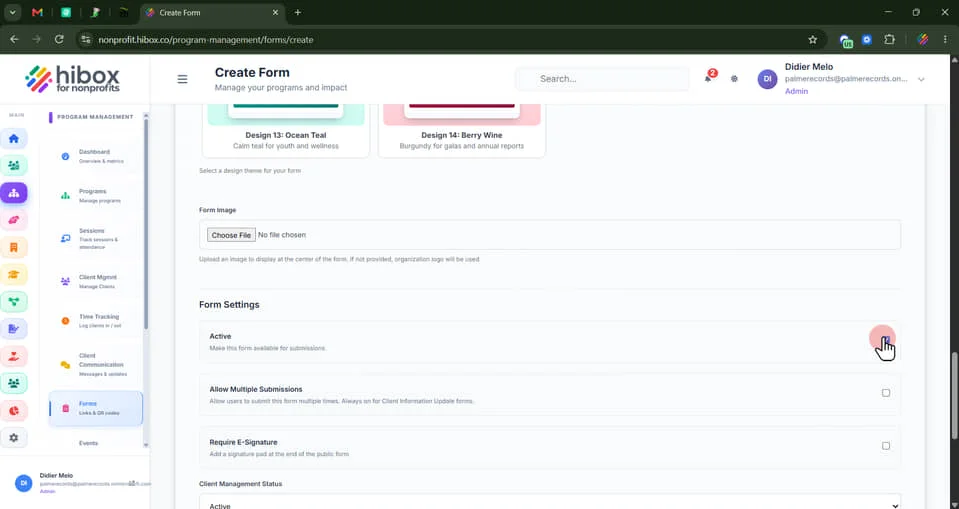
18. Check the "Allow multiple submissions" box to allow for multiple submissions
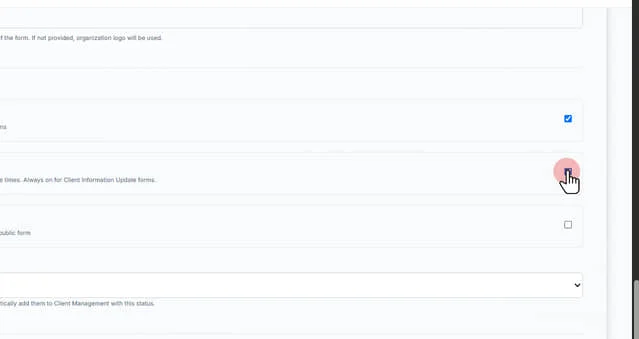
19. Check the "Require E-Signature" box to add a signature pad at the end of the public form
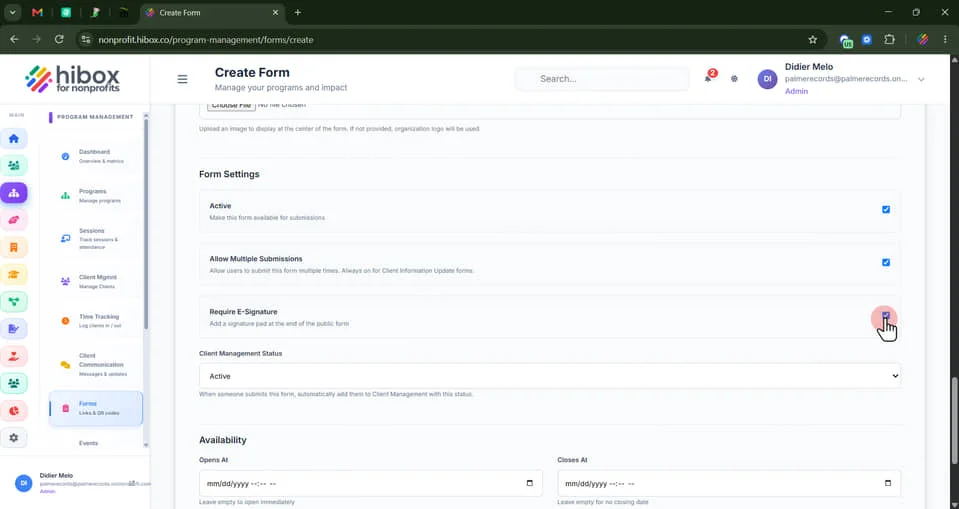
20. Set the "Client Management Status" as "Active or "Pending" using the dropdown menu
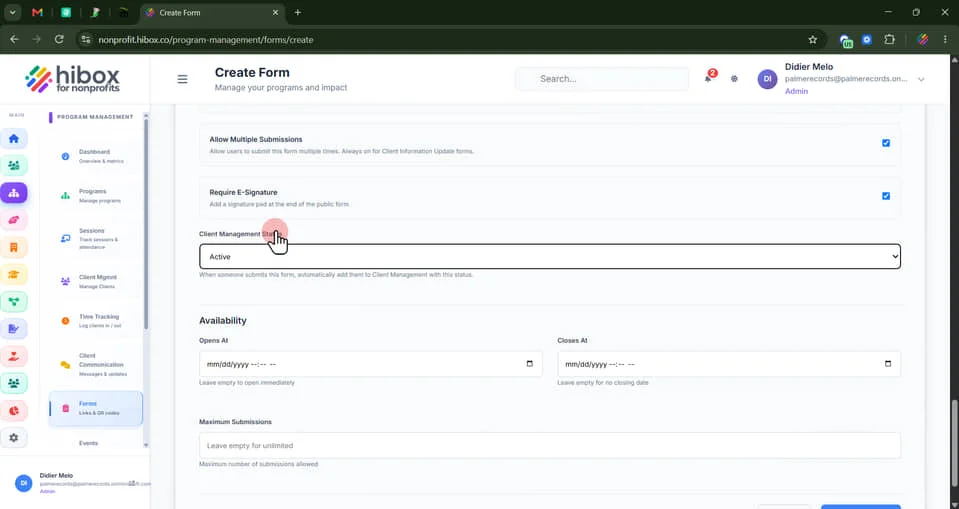
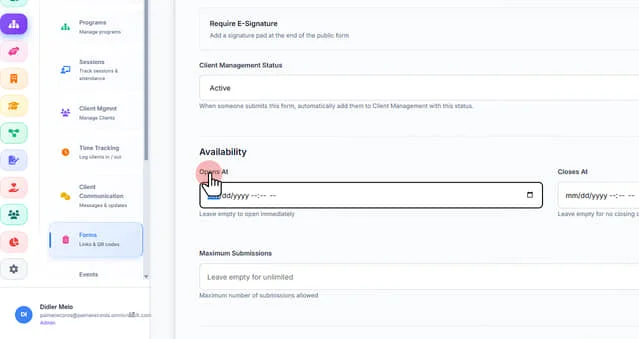
21. Set the "Opens At" date and time
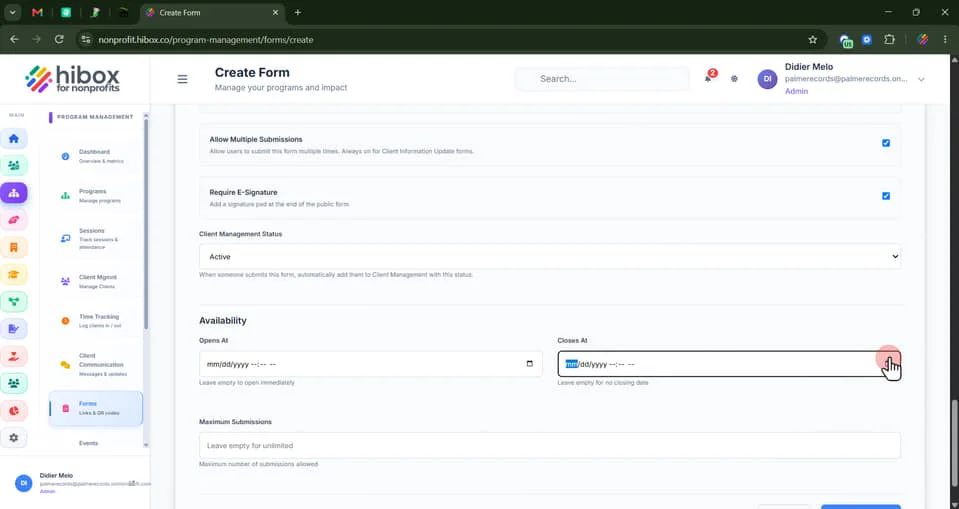
22. Set the "Closes At" date and time
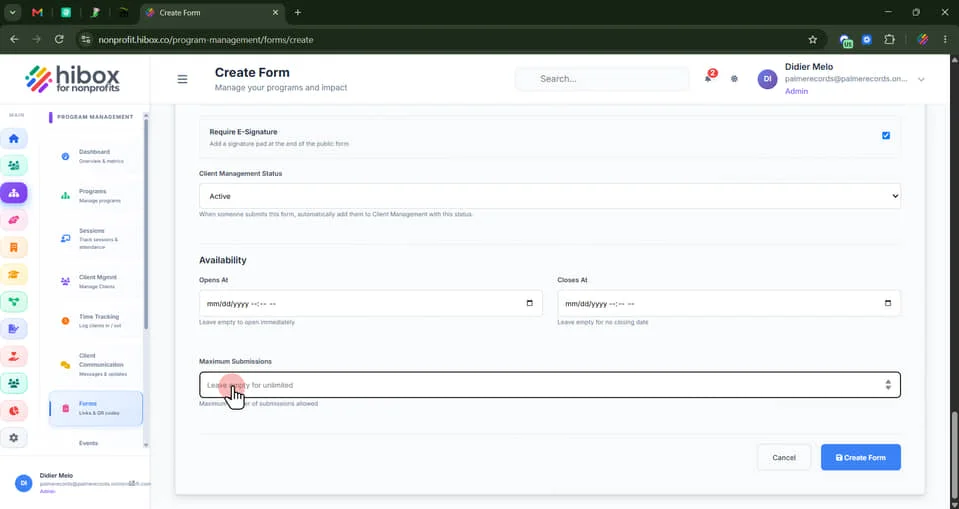
23. Set the "Maximum Submissions" number
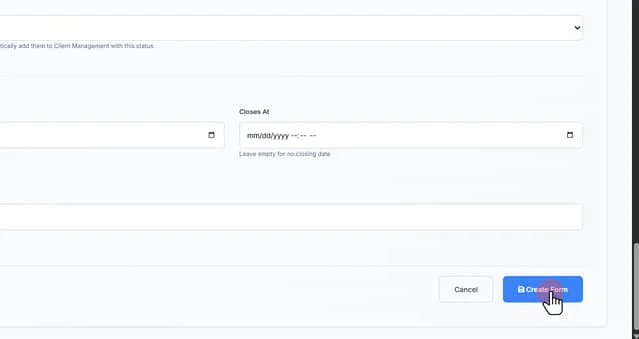
24. Click "Create Form"
 Powered by ProductLift